Adding a node to an existing Imagicle Cluster
Before starting
Warning: when you add a node to a cluster, you loose all the data on that node.
Before you try to add a node to a cluster, ensure that:
The new node has the same UCX Suite version of the other nodes in the cluster, otherwise you won't be able to complete the procedure
The node is already configured to use the desired database server (you can check this through Support web page)
If the cluster is using the Replicated Database strategy, there's enough free disk space on the machine to contain at least twice the size of the database of a node that already belongs to the cluster.
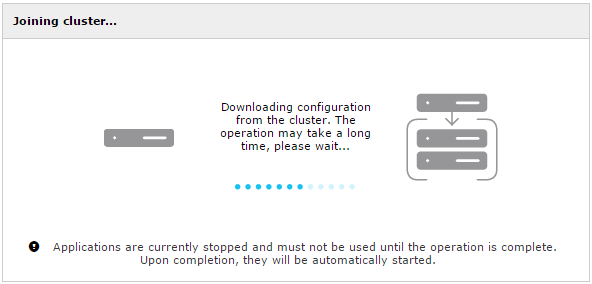
You should notice also that during this procedure all the applications of the UCX Suite are stopped and unavailable on this node.
Procedure
To add a node to a cluster, log in as administrator to UCX Suite web portal and click on Admin ⇒ High Availability.
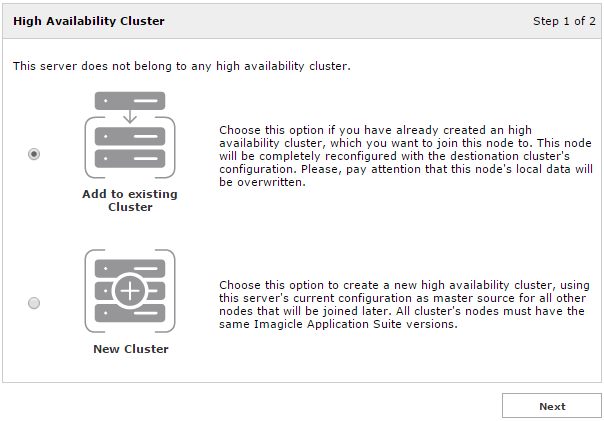
Choose Add to existing Cluster and click Next.
On the next page you choose one of the IP addresses of the machine. This becomes the address used by the other nodes of the cluster to communicate with this node.
Starting from 2022.Spring.1 release, Imagicle High Availability supports IPv6 addressing too. If you choose this addressing type, please remember that all nodes should be added with same IPv6 addressing.
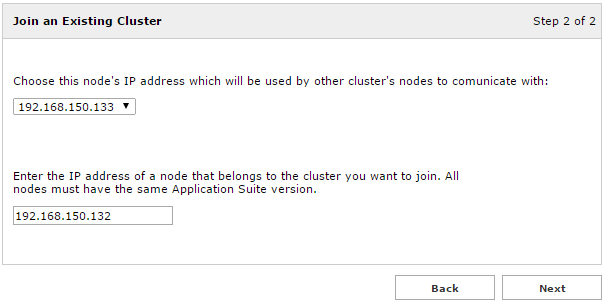
Then you must enter the IP address of an existing node (chosen from the displayed nodes list) of the cluster you want to join. That node must be up and running until the end of this procedure.
When you click Next and confirm your choices, the node addition procedure starts. It may take a long time, depending on the amount of data contained at that moment in the cluster (this procedure automatically creates a backup of source node's database, download and restore it to the node to be added). Roughly, the first node that joins an existing cluster might take 16 minutes per GB of database size. Nodes that join later, might take 3 minutes per GB.
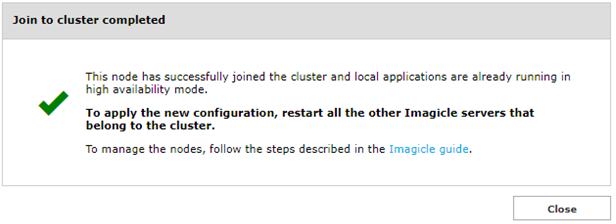
When the procedure is complete, the node displays a success notification, but if the addition fails it displays a failure notification.
From now on, the summary page shows the list of all the nodes in the cluster (including the node that you just added). IP addresses are shown in IPv4 or IPv6 format, as they were added in the cluster.
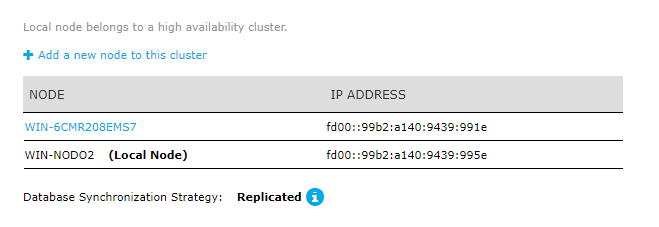
Pls. keep in mind that above cluster's NODE ID corresponds to Imagicle server's host name (FQDN). You can later change host name, if required and with Imagicle team assistance; just beware that NODE ID will remain unchanged (with initial host name).
Now, in order to propagate the topology change to all the other nodes, you should restart all of them, one by one.
Next, please be aware you must re-configure some node-specific parameters:
PBX connection(s), like SIP/H.323 trunks, FTP/Telnet, Routing rules, etc.
Proxy settings
Launch a DB maintenance, if required, from Support web page
Outgoing emails parameters
Monitoring parameters, including email and SNMP notifications configuration
Numbering plan settings
Contact Manager's custom fields
Email templates related to Digital Fax, VoiceMail and Call Recording applications
Known limitations
There are some actions an administrator can't do on a cluster:
On UCX Suite versions lower than Summer 2015, you can't remove a node from a cluster.
Once a node is part of a cluster, you can't change its IP Address.
You can't change cluster's NODE IDs on your own. To change NODE ID, please contact Imagicle Support.
You can't restore a UCX Suite backup to a cluster node: data integrity is granted by the cluster itself.
For any problem regarding one of the activities above, you can contact Imagicle Technical Support.