Creating a new Imagicle HA Cluster
Before starting
Before creating a new cluster or joining a node to an existing cluster, keep in mind the following restrictions:
It's strongly suggested to configure all UCX Suite nodes for outgoing email notifications
Ensure that all UCX Suite nodes clock is up-to-date against a NTP source
All nodes in the same cluster must have the same UCX Suite version. If they have not, please upgrade them to the latest UCX Suite version before creating the cluster
It's highly recommended that all nodes leverage the same SQL server version
At the beginning, all nodes in the cluster acquire the configuration and data from the first node. A node that joins an existing cluster completely looses both its configuration and data. So, choose carefully the first node to create the cluster.
Joining a node to a cluster requires to stop all applications on that node. Once added, a server restart of all other nodes is required, too.
Network considerations
TCP port 52700 is allocated to the communication between the nodes
A set of TCP ports above 52700 is used for data replication among cluster nodes (the number of ports depends on the number of nodes)
Creating a new cluster
Before creating an UCX Suite cluster, please ensure that chosen node is configured to use the desired database server (you can check this through the Support web page).
Now you can login as administrator to chosen node's web portal and click on Admin ⇒ High Availability.
You are asked to choose whether you want to create a new cluster or add this node to an existing cluster.
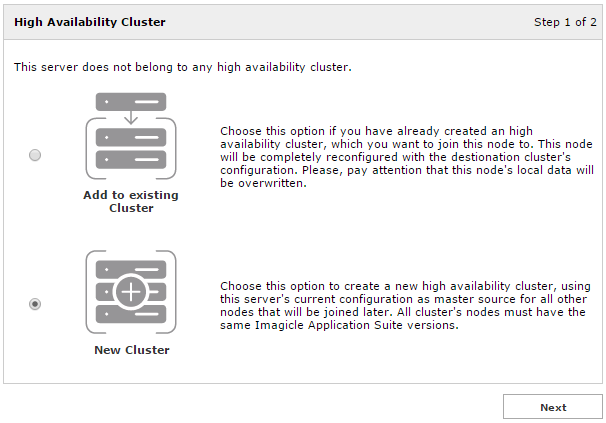
On the first node choose New Cluster and click Next.
In the next page you choose one of the IP addresses of the machine. This is the address used by the other nodes of the cluster to communicate with this node.
Starting from 2022.Spring.1 release, Imagicle High Availability supports IPv6 addressing too. If you choose this addressing type, please remember that all nodes should be added with same IPv6 addressing.
You also have to specify if every node leverages its own database instance (Replicated Database), so the cluster synchronizes data among all of them, or if the cluster leverages a single database instance (Shared Database).
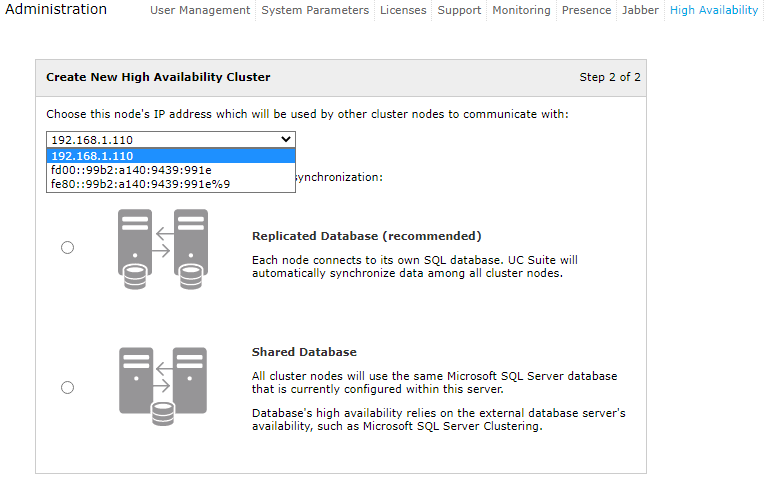
If you choose to use multiple database instances, it's highly recommended that all of them have the same SQL Server version.
Once you've made your choices, click Next.
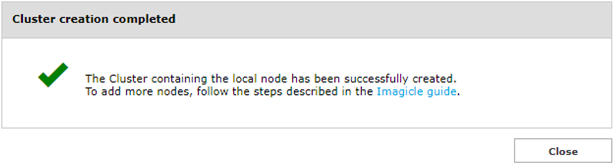
If you confirm your choices, the cluster creation procedure begins and it might take a long time. While the cluster is being prepared, all the applications run as usual.
As soon as the procedure is accomplished and cluster has been successfully created, the local node sends a success notification. If the creation fails, it sends a failure notification.
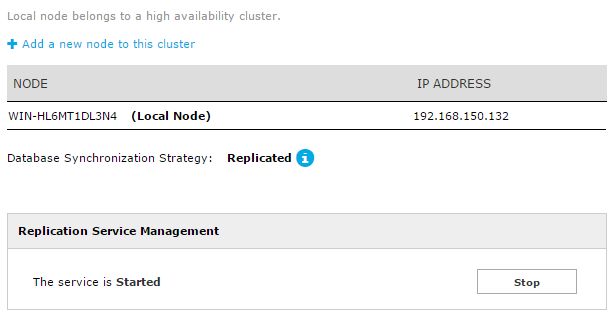
From now on, every time you open the following web page, you can see the list of all the nodes in the cluster.
Now the cluster is prepared, and it just contains the local node. Other nodes will appear when they'll be added.