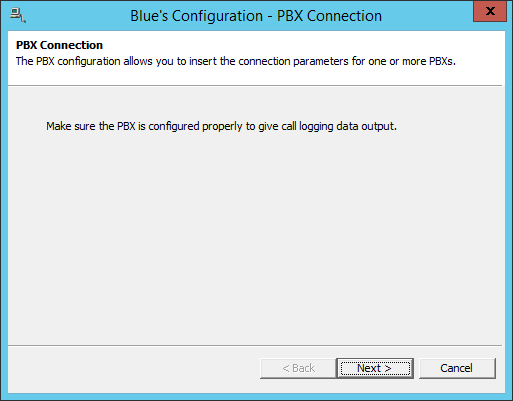
Call Analytics Configuration Wizard
Please access to Imagicle UCX Suite via RDP session and follow below procedure:
Launch the Configuration Wizard from Start menu:
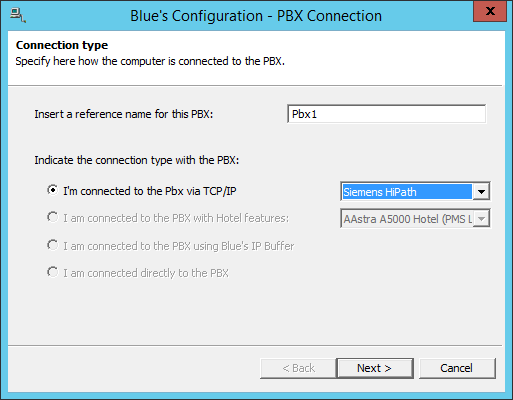
Enter a name for the first PBX and select the connection according to the Brand and Model of the PBX.
Enter the required parameters for the connection to acquire the CDRs.
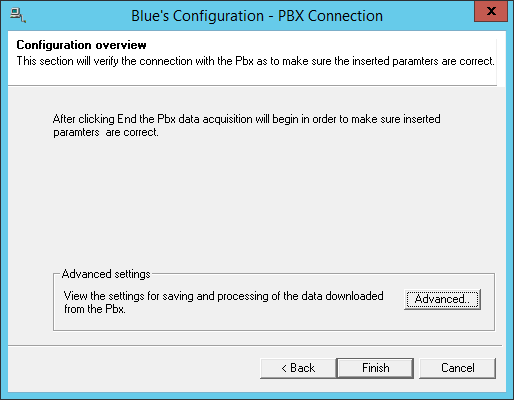
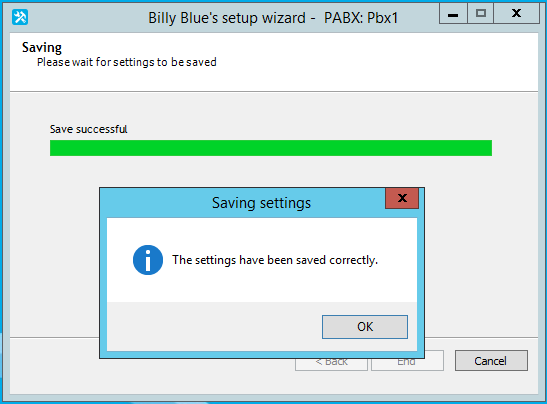
Click on [ Finish ] to end the configuration.
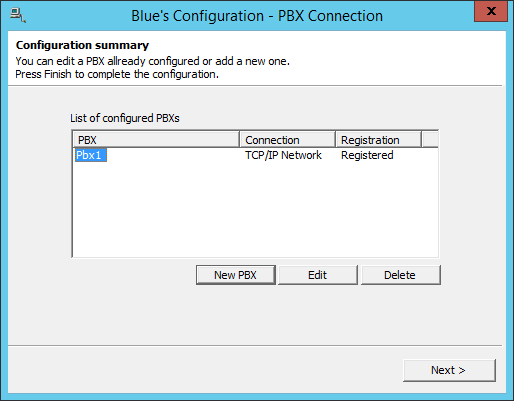
Click [ New PBX ] to configure a new connection to another PBX or [ Next > ] to continue the configuration.
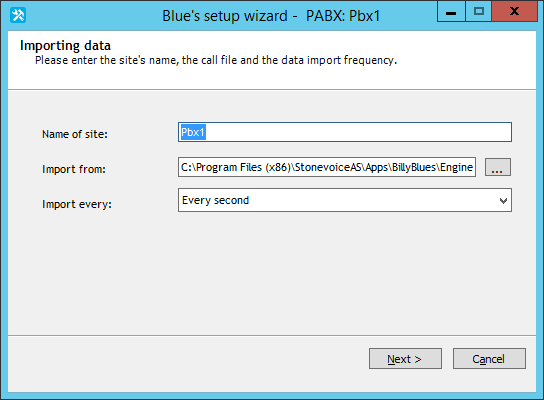
Configure the new SITE.
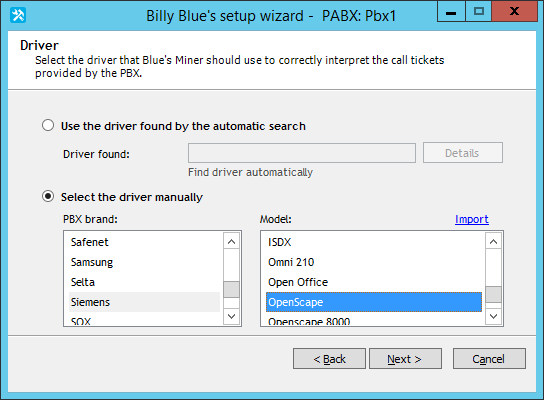
Select the driver of your PBX Model.
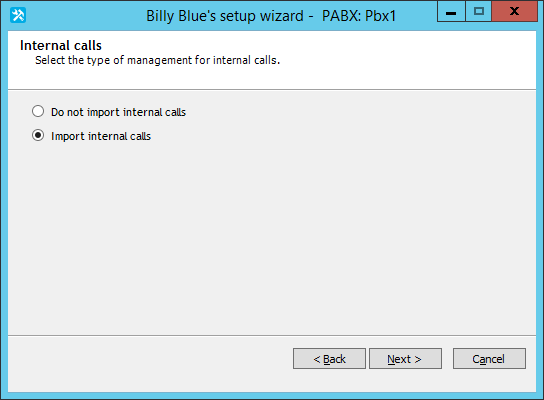
Choose the relevant option if you want to import the internal call or not.
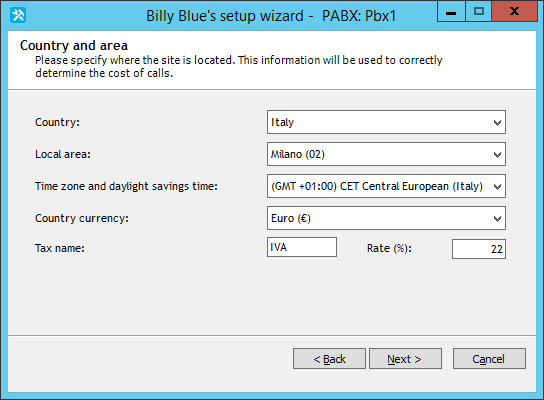
Select the Country and Local Area of the Site.
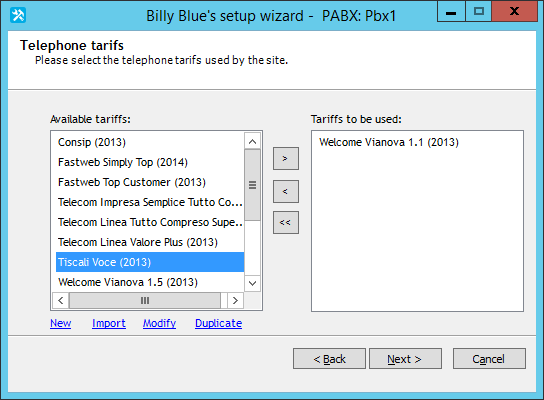
Select a Tariff.
Click [ Next > ] until you reach the end of the configuration.
The first SITE is configured. If you have more than one site you can configure here or Click [ Next > ] to finish the configuration.