Imagicle Screen Recording add-on
Starting from Imagicle 2023.Winter.1 UCX Suite release, a new Screen Recording add-on is available for Imagicle Call Recording application.
This add-on allows voice recording-enabled users to capture their screen activity during an ongoing call. Once call is ended or recording is stopped, a video file is saved and available to download from Call Recording Search and Play web page.
Requirements
Imagicle UCX on-prem/hosted/Cloud Suite ver. 2023.Winter.1 or above.
Users must be enabled for Imagicle Call Recording using any available recording method. Mode info here.
Screen Recording is currently not available for Microsoft Teams environments: coming soon!
Screen Recording users or channels-based license should be available, matching or lower than existing Call Recording license
For enabling up to 1,000 concurrent screen recordings, you need to assigned 2 additional CPU/vCPU cores and 1GB additional RAM. For higher volumes of concurrent screen recordings, please contact Imagicle team.
HDD size must be raised, to store the required amount of screen recording video files, for the required retention period. Imagicle provides a storage calculator for this purpose, attached to this KB article.
Screen Recording Engine - Server components
Imagicle Screen Recording engine is a client/server application, where three components should be installed inside Imagicle UCX Suite actual/virtual server:
Screen Logger Configurator Service
Screen Logger Screen Server
Screen Logger Management Studio
Latest installation wizards are available to download from our official packages page.
Please proceed with the packages installation on Imagicle UCX Suite, following the order highlighted in this KB.
Note: Imagicle Screen Recording Engine comes with an evaluation license lasting 90 days, allowing to enable up to three workstations to screen capture.
Screen Logger Configurator Service
Run the relevant .msi installer and just follow the wizard until the end.
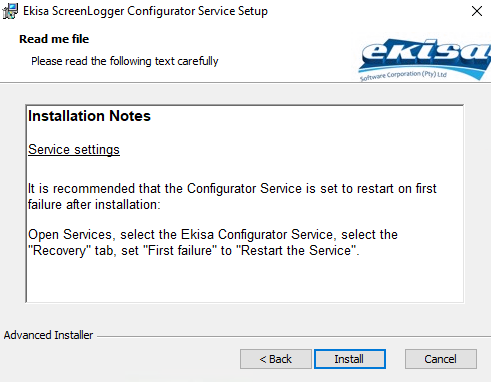
As highlighted in Installation Notes, please configure this service to automatically restart upon failure.
Screen Logger Screen Server
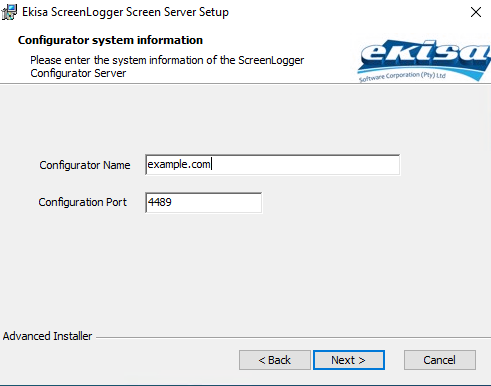
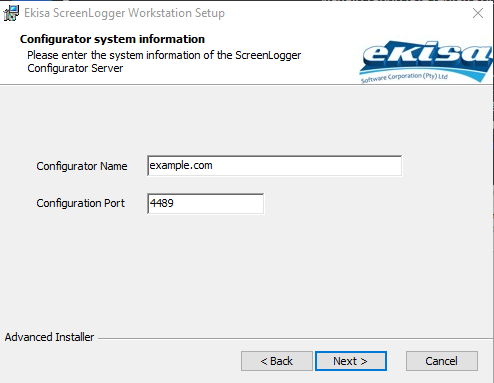
Run the relevant .msi installer and, when prompted, please fill "Configurator Name" with Imagicle UCX Suite FQDN or IP address. If Screen Server is co-located inside Imagicle UCX Suite, you can also enter "localhost".
As highlighted in Installation Notes, please configure this service to automatically restart upon failure.
Please leave the default Configuration Port to 4489, as below sample:
Screen Logger Management Studio
Run the relevant .exe installer as Administrator and just follow the wizard until the end.
Once installation is accomplished, please run the Management Studio and connect to Screen Logger Configuration Server by adding relevant FQDN (localhost, if co-located in UCX Suite) or IP. Please leave the default port 4493.
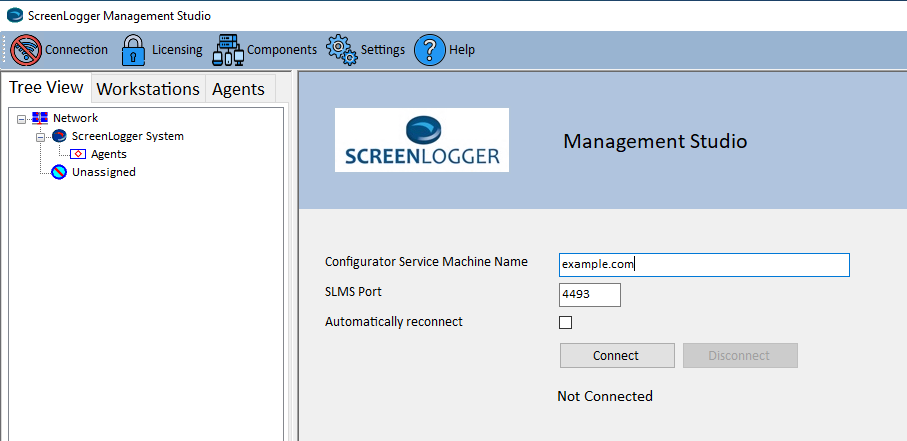
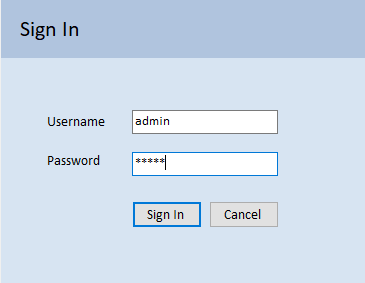
Once connected, you must enter the admin credentials to login. Initially, they are Demo/Demo.
Please select Settings ⇒ Users ⇒ New User. See below screenshot:
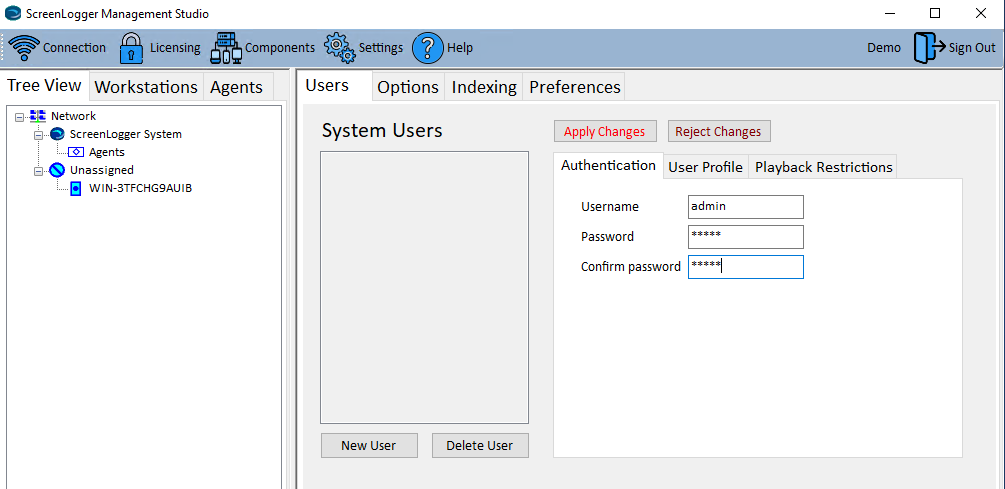
Within "Authentication" tab, please enter the credentials for the Administrator user. We suggest to enter admin/admin. Then click on "User Profile" tab:
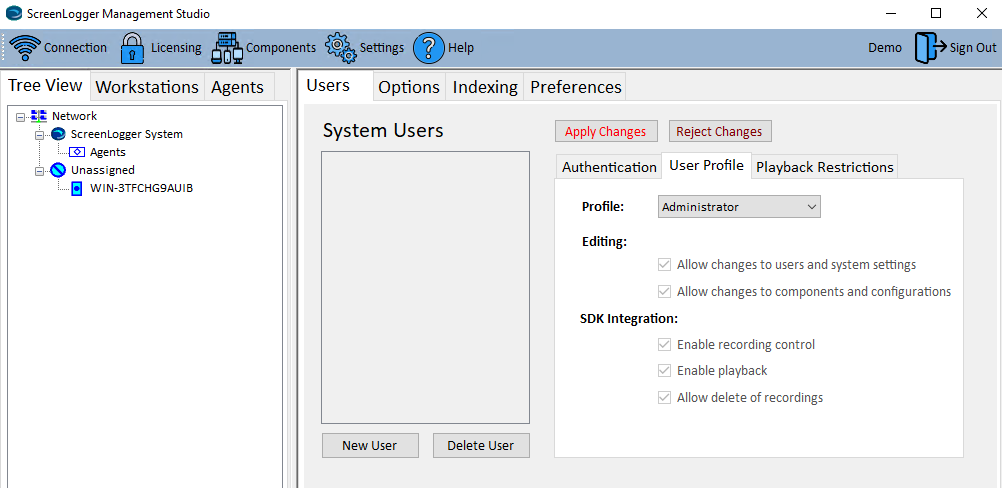
Select "Administrator" profile from pull-down menu and hit "Apply Changes" button.
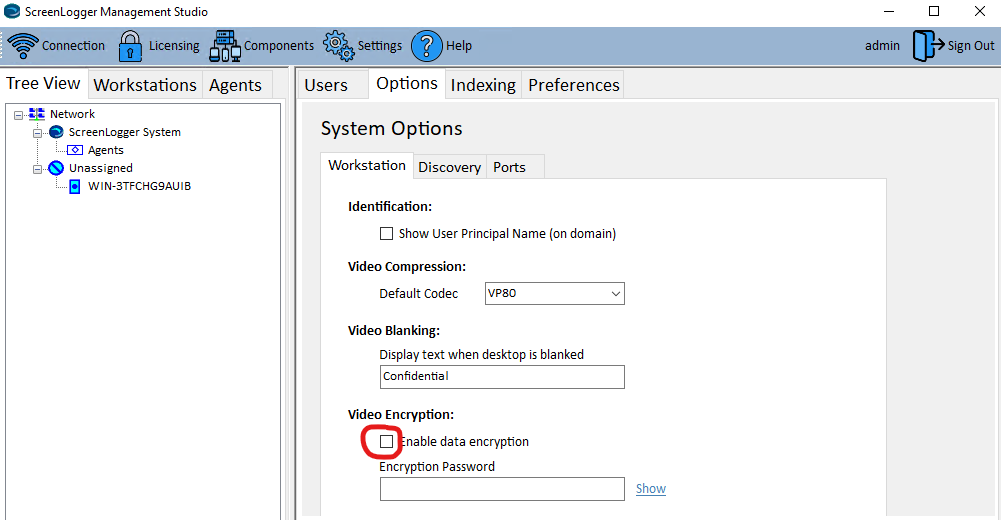
Now select Settings ⇒ Options ⇒ Workstation and configure the "Default Codec" to VP80 and make sure that "Enable Data Encryption" flag is unchecked. See below screenshot sample:
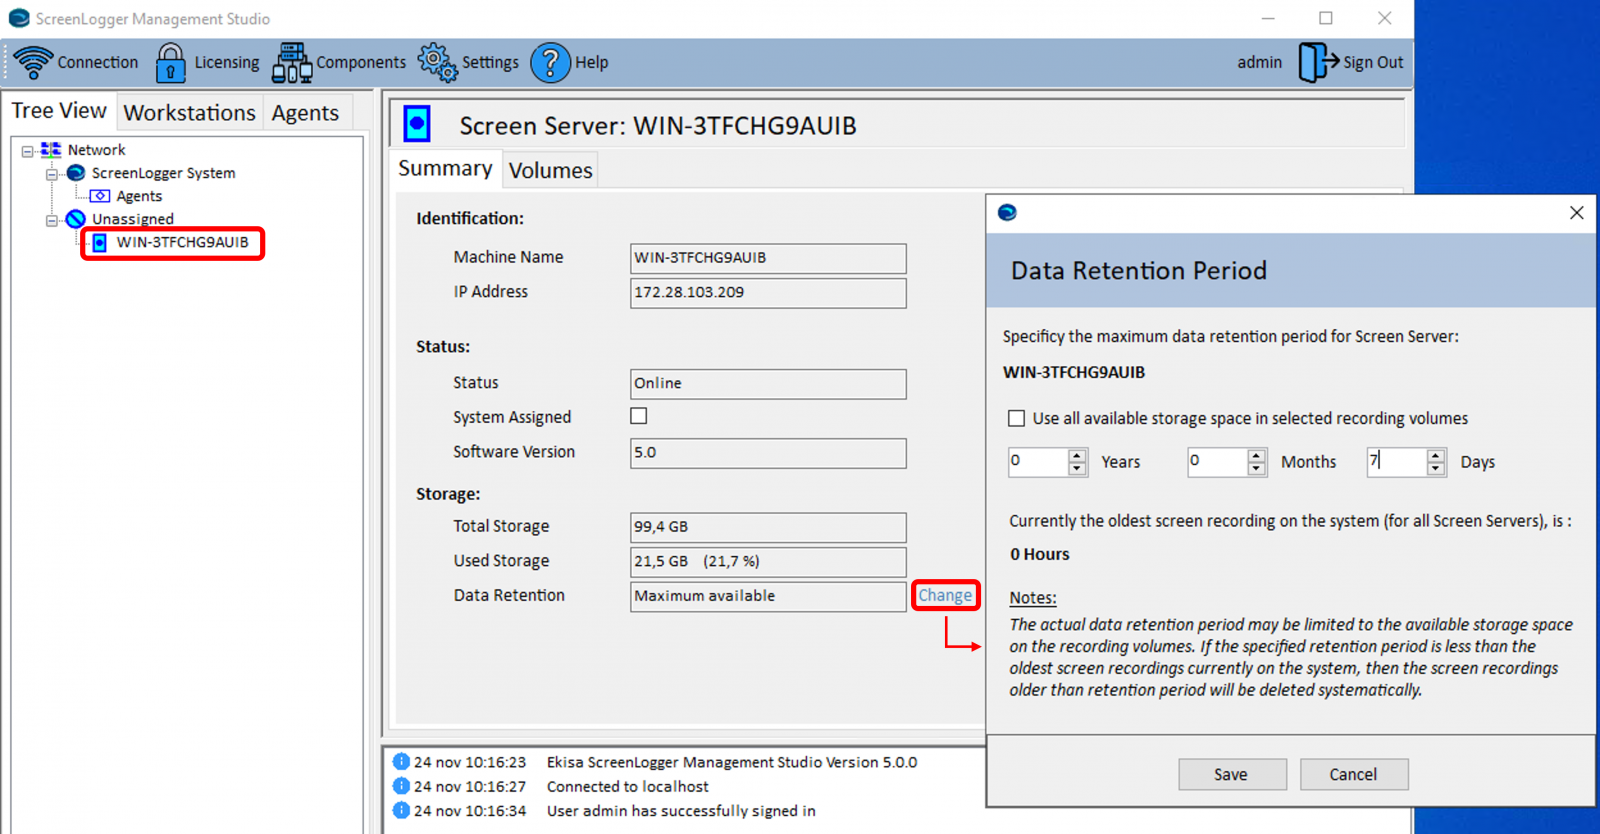
Now it is required to configure the data retention. Please select Server FQDN from left pane ⇒ Summary and hit "Change" button to popup Data Retention window. Please set value to 7 days and hit Save:
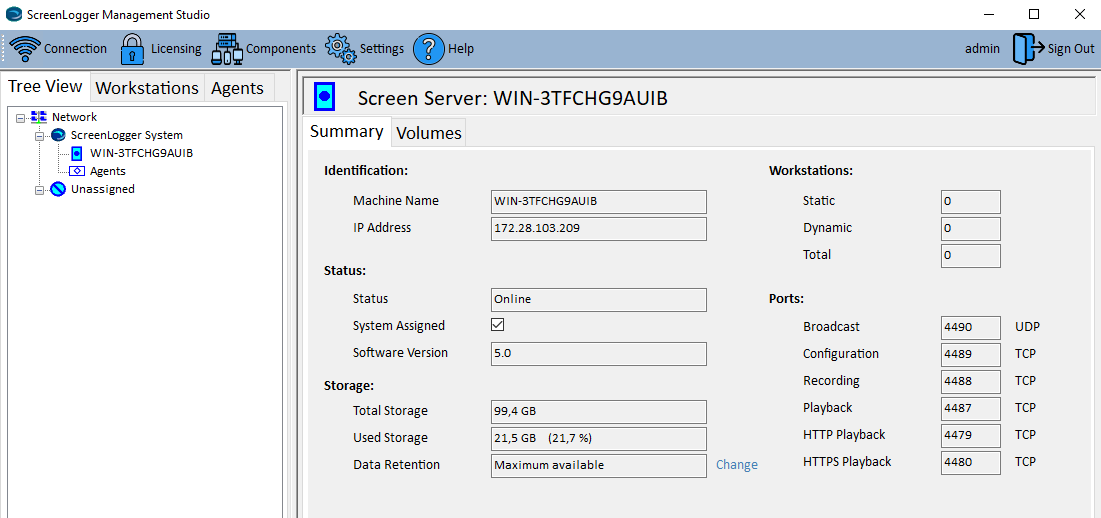
Imagicle FQDN is still under "Unassigned" Screen Loggers. To move it above, inside "ScreenLogger System", right-click on server's FQDN and select "Assign to System":
Imagicle Screen Recording Engine is now ready to accept screen capture requests coming from users' workstations. All recorded screens are saved as .webm video files into the folder: C:\EkisaServerData\<server hostname> where <hostname> corresponds to Imagicle FQDN, as available into "ScreenLogger System" network view. Please consider this is just a temporary storage location, because recorded screens are eventually encrypted and copied to usual Call Recording folders, as per "Data Management" setup in Imagicle UCX Suite's Global Settings.
To evaluate required HDD space to store recorded screen videos, Imagicle provides a storage calculator for this purpose, attached to this KB article.
Network Ports Usage
To properly configure your firewall "allow" list, please consider that Imagicle Screen Recording is using the following default ports between Imagicle UCX Suite and enabled users' workstations:
Video Broadcast: UDP 4490
Configuration: TCP 4489
Recording: TCP 4488
Playback: TCP 4487 (only required when using Screen Logger Screen Player)
HTTP Playback: TCP 4479 (only required when using Screen Logger Screen Player)
HTTPS Playback: TCP 4480 (only required when using Screen Logger Screen Player)
For those scenarios where Screen Logger Workstations can't resolve Screen Logger Server FQDN, you can manually modify Screen Logger Server announced FQDN by editing the following file: C:\ProgramData\Ekisa\Server\Server.ini
Please add the following setting:
[Config]
SystemName=<ScreenServer-FQDN>
Once updated, please restart Screen Logger Server
Please remember that Screen Logger Workstations should resolve both Screen Logger Configurator Service and Screen Server FQDNs. Typically, they are the same.
Screen Logger server components update
When a new software version is released, you need to update all Screen Logger sever components:
Uninstall any previous Screen Logger server applications prior to installation of the new ones.
Install ScreenLoggerConfiguratorServiceInst.msi first.
Then proceed with ScreenLoggerScreenServerInst.msi
Finally, install ScreenLoggerManagementStudioInst.msi.
Please note:
Existing configurations are retained.
After having updated Screen Logger server components, you can update Screen Logger Workstation component at your own pace, with no rush. Users can temporarily keep using the old version without problems.
Please bear in mind the update rules highlighted below in this KB article.
Screen Recording Engine - Workstation components
Each Call Recording user who wishes to leverage Screen Recording feature must install the following component on own PC workstation:
Screen Logger Workstation
Screen Logger Screen Player
Latest installation wizards are attached to this KB article, inside "Imagicle Screen Recorder - PC Packages.zip" file.
Screen Logger Workstation
Run the relevant .msi installer and, when prompted, please fill "Configurator Name" with the same instance FQDN or IP configured into Screen Logger Screen Server. Do not enter "localhost" here.
Please leave the default Configuration Port to 4489, as below sample:
Please repeat this installation in all user's PCs to be enabled for Screen Recording.
If the Desktop Icon feature is enabled on Screen Logger Management Studio, you can monitor actual screen recording activities. See below:


Screen Logger Workstation update
In case Screen Logger Screen Server is updated to latest release, you should also update the workstation component:
Uninstall current Screen Logger Workstation
Run Windows Task Manager and check Ekisa Workstation process is not running
Go to C:\ProgamData\Ekisa on your hard disk and remove ALL data
Install new Screen Logger workstation by running latest ScreenLoggerWorkstationInst.msi package.
Please bear in mind the update rules highlighted below in this KB article.
Screen Logger Screen Player
Each user can optionally install this component to playback recorded screens of last seven days, including ongoing sessions. Recorded sessions visibility is dictated by the permission level of the user who logs in to the application with own credentials. See below screenshot sample:
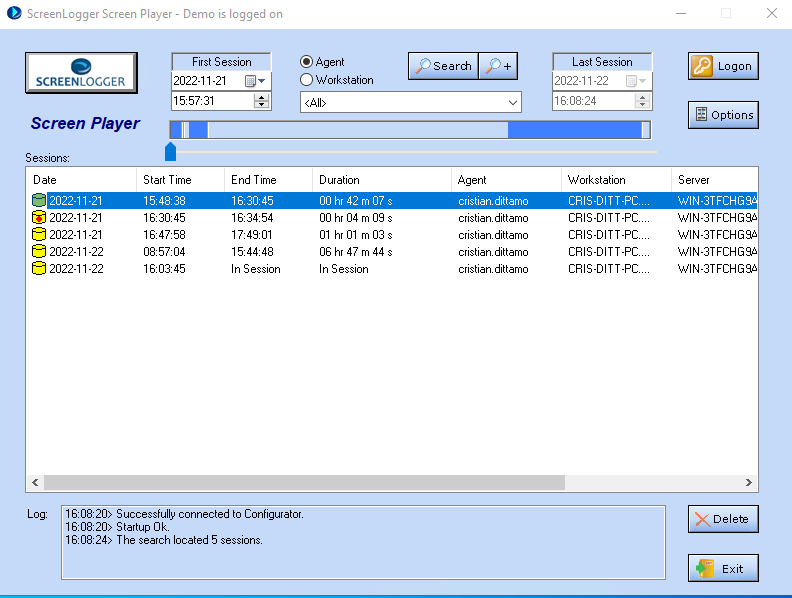
Previous screen recordings are available to download as .webm video files from Imagicle Call Recording Search and Play web page (if authorized by the UCX Suite administrator), to be played back using any standard video player.
Once installations are accomplished for all users, relevant workstations immediately contact the Screen Logger Screen Server to notify their availability. At this point, it is up to the Administrator to actually enable them on Imagicle UCX Suite.
Enabling users to Screen Recording
Please login to Screen Logger Management Studio with previously configured "admin" credentials:
Management Studio main window appears, where you can find the list of all users and relevant PC workstations listed into left pane's Network view, under "Unassigned" category. See below:
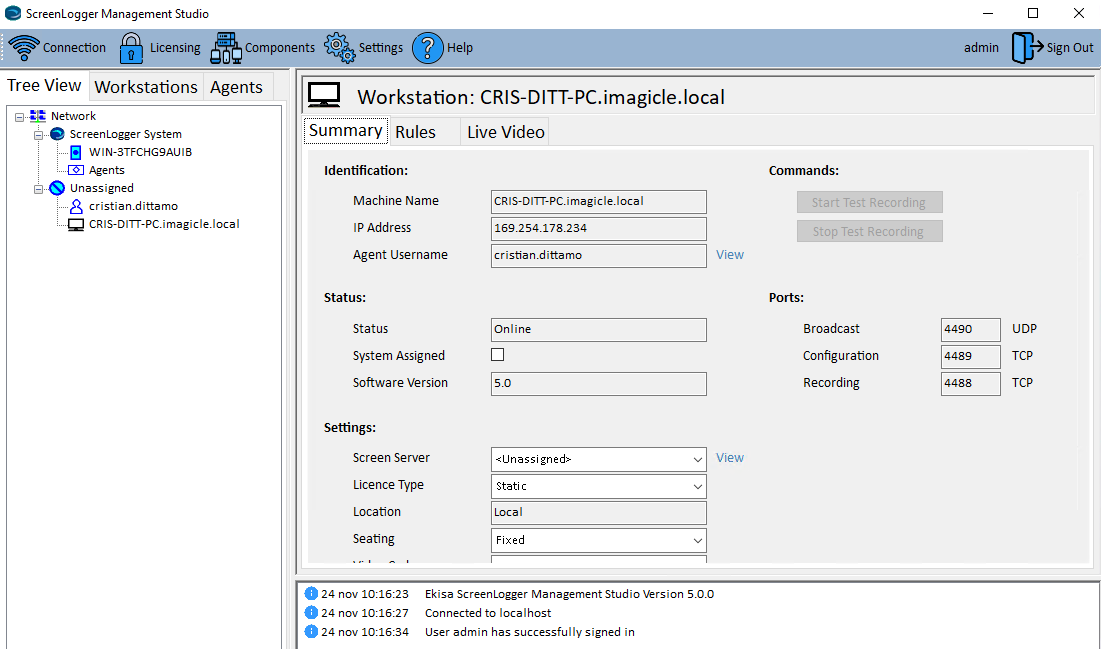
Agent's name comes from user's Windows logon credentials. Workstation name is the PC hostname/FQDN. To enable users, just right-click on each PC's FQDN and select "Assign to System" to move them to above "ScreenLogger System":
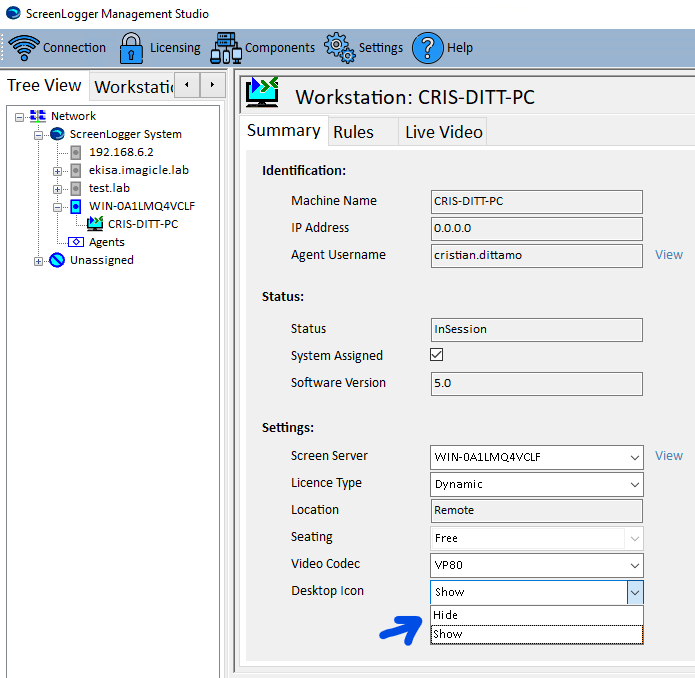
Within Summary settings, you can also choose to enable a taskbar icon on workstation PC, showing real-time screen recording status.
Please make sure you have enough Screen Recording Engine static workstation (Users) or dynamic workstation (Channels) licenses to cover all users/PCs.
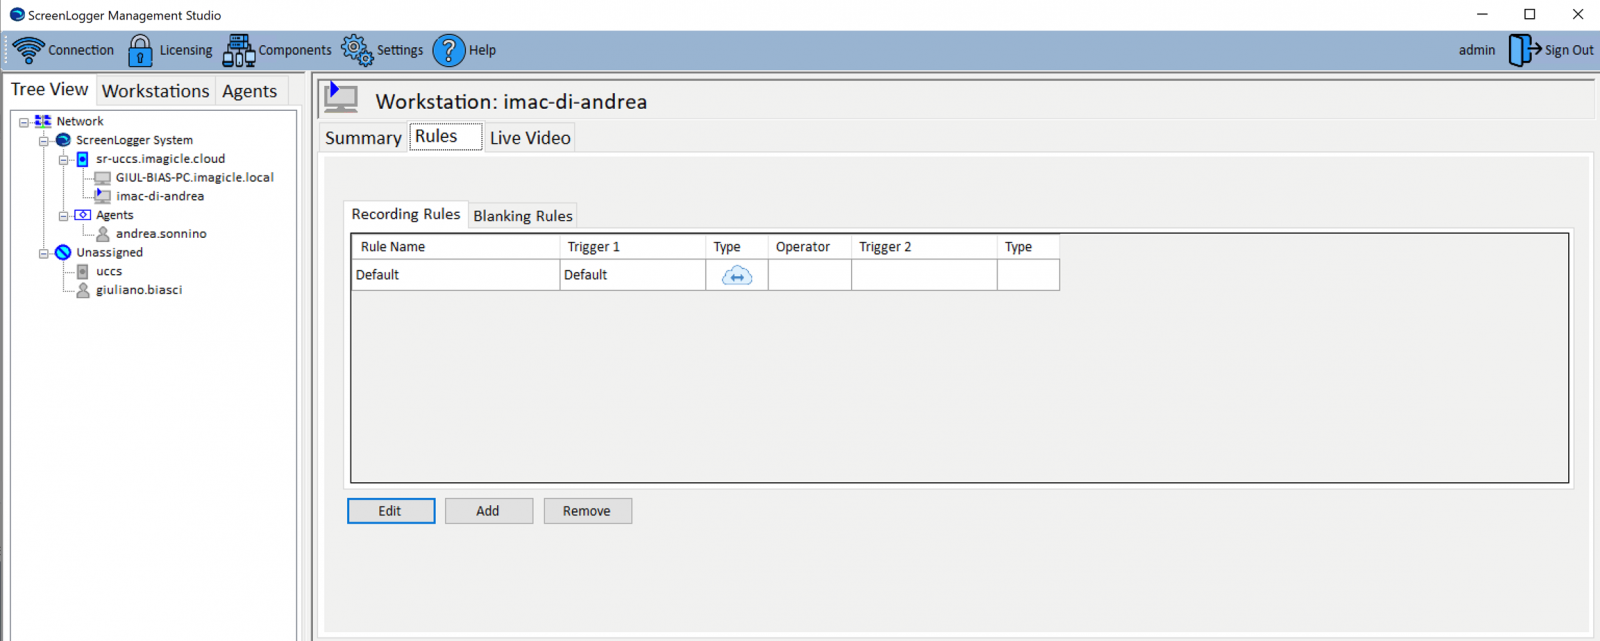
Each PC workstation and agent listed in Management Studio must have the Default rule added within Rules ⇒ Recording Rules tab. See below sample:
Screen Recording Components update
Imagicle is updating on a regular base all Screen Recording components and you can freely update your installation by downloading the latest packages from our official packages page.
Update rule
A standard minor release update, like from ver. 5.1.0 to 5.1.2, does not require a subsequent license activation.
If otherwise you update your components to a major release, like from ver. 5.1 to 5.2, then you must re-activate the license.
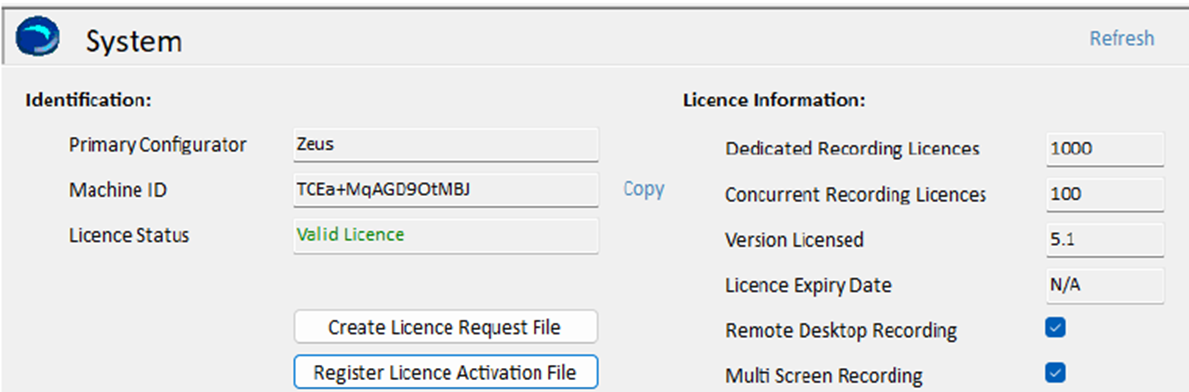
So, we STRONGLY suggest to check your existing Screen Recording licensed version on Screen Logger Management Studio (ver. 5.1 in below screenshot sample):
If the update requires a license re-activation, please contact Imagicle Support prior to perform it.
Attached files:
Imagicle Call and Screen Recording Channel and Storage Calculator-rev2 .xlsx