Synchronizing contacts with external sources
Contact Manager can keep directory contacts aligned against a standard LDAP source, using a fixed fields mapping displayed in relevant table further below in this article. If you install Meta Connector ver. 5.0 on the Imagicle UCX Suite, you can apply a fields mapping of your choice and you can also import and synchronize external contact from multiple sources.
Here is an example on how to create a synchronized directory which imports contacts from Active Directory. The procedure for other sources (e.g. MS Exchange..) is similar. Please refer to Estos documentation for more details.
Configuring the replicator
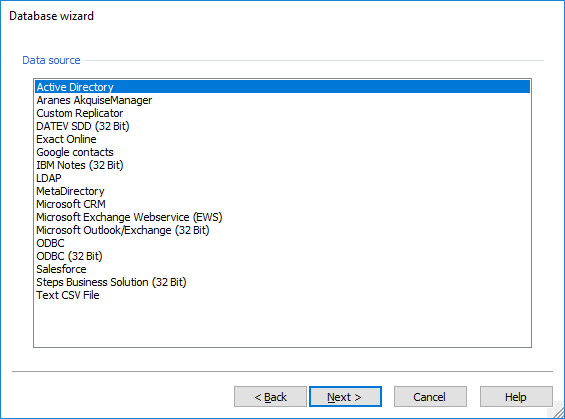
Estos MetaDirectory 5.0 Replicators List
Active Directory/Global Catalogue
Custom Replicator
DATEV SDD (32bit)
Exact Online
Google people
HCL Notes (32bit) 9 bis 11
LDAP (OpenLDAP, NDS, Public Directories)
MetaDirectory
Microsoft Dynamics CRM/Dynamics 365
Microsoft Exchange Webservices (EWS)
Microsoft Graph/Microsoft Office 365
ODBC (32-Bit) (Access, SQL Server, MySQL, Oracle, …)
ODBC (64-Bit) (Access, SQL Server, MySQL, Oracle, …)
Salesforce SOAP Webservice
Steps Business Solution
Text CSV File
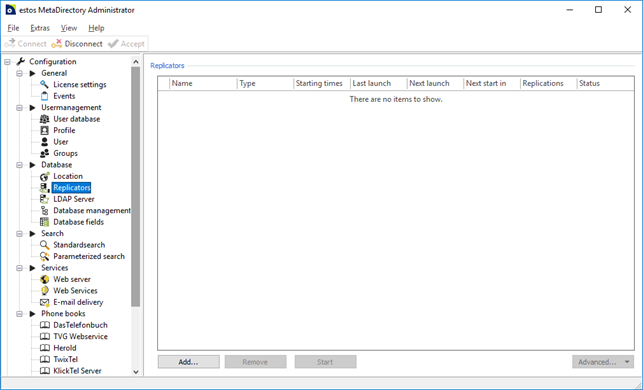
Log onto the server where Meta Connector is installed on. Open Metadirectory Administration tool through the Start menu link.
Locate the "Replicators" and add a new one.
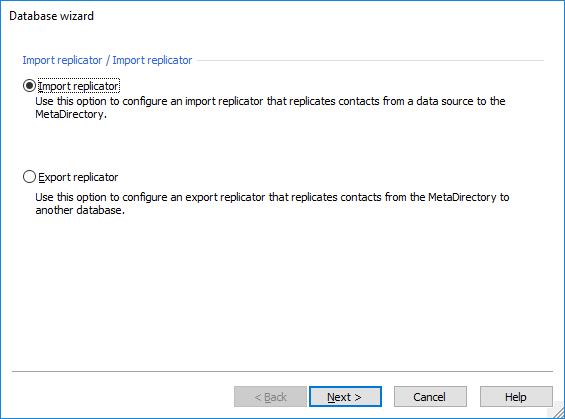
Select the "Import" replicator type.
Select the Data Source type and follow the wizard:
Configure fields mapping using below table:
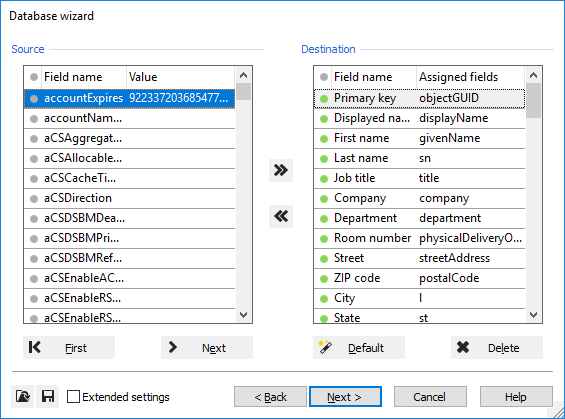
Source: Fields available within source directory
Destination (Field Name): Meta Connector own fields
Destination Table (Assigned Fields): Source fields mapped to Meta Connector fields
Meta Connector fields mapping to Contact Manager
This table shows how Meta Connector fields are mapped to Contact Manager fields.
LDAP Attribute | Meta Connector Field Name | Contact Manager web portal Label |
givenName | First name | First Name |
sn | Last name | Last Name |
company | Company | Company |
homephone | Private Phone | Home Phone |
telephoneNumber | Business Phone | Business Phone |
mobile | Mobile Phone | Mobile Business |
pager | Pager Phone | Mobile Private |
facsimileTelephoneNumber | BusinessFax | Fax |
privateAddressState | Street Private | Postal Address |
otherHomePhone | Private Phone 2 | Speed Dial Home Phone |
otherTelephone | Business Phone 2 | Speed Dial Business Phone |
telephoneCar | Mobile Phone 2 | Speed Dial Mobile Phone |
custom1 | User1 | Custom1 |
custom2 | User2 | Custom2 |
custom3 | User3 | Custom3 |
custom4 | User4 | Custom4 |
custom5 | User5 | Custom5 |
custom6 | User6 | Custom6 |
custom7 | User7 | Custom7 |
custom8 | User8 | Custom8 |
custom9 | User9 | Custom9 |
custom0 | User0 | Custom10 |
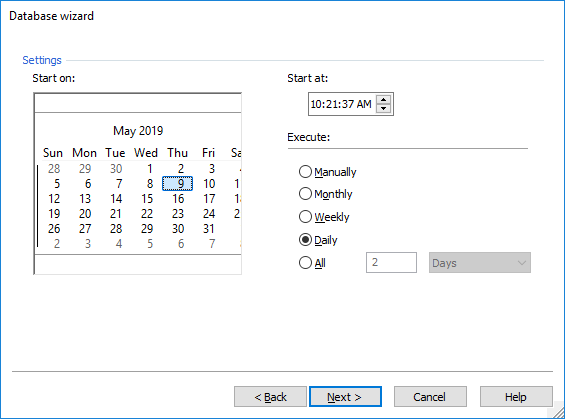
Schedule the replication time:
Please keep in mind to schedule it before actual LDAP synch configured on Contact Manager web portal.
Create a Contact Manager directory synchronized against Meta Connector
Access to Imagicle web portal as administrator and go to Contact Manager ⇒ Manage Directories ⇒ + Create New Directory
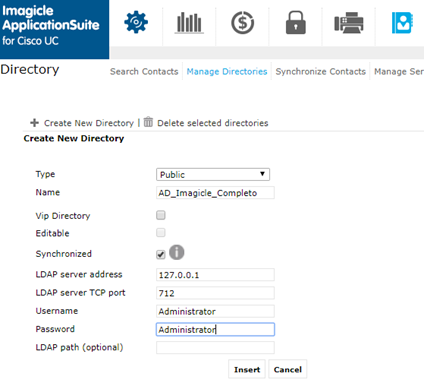
Type: Public or Dept or Personal
Name: Directory name of your choice
VIP: Flag for prioritized VIP directory
Editable: Not checked
Synchronized: checked
LDAP server address: Server IP where Meta Connector is installed
LDAP server TCP port: TCP port configured in Meta Connector (Default = 712)
Username/Password: Credentials to access Meta Connector administration
LDAP path = Check it in Database-View of Meta Connector Admin tool (set to "DC=META" to import all contacts, of all Replicators)
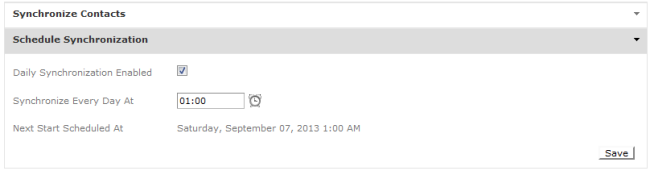
Run Contacts Synchronization
Click on the Synchronize contacts link. After running Meta Connector import once, you can test the synchronization by clicking "Run Now" or activate daily synchronization. The settings may be different for each directory. Each user will be able to manage his or her directories depending on Contact Manager's permission level.
IMPORTANT: Please do not enable daily automatic synchronization on both Imagicle nodes associated to a HA cluster, because your directory will be corrupted. If this problem occurs, you can solve it by applying the following procedure:
Disable automatic sync on backup node
Delete all contact included into the corrupted directory(ies)
Wait for replication to wipe-out contacts in the primary node, too
Run manual sync on primary node.
If your directory includes several contacts, you can delete all of them through a SQL query. Please contact Imagicle Support for the same.