Call Analytics Configurations for Alcatel OXO Connect 4.0
This KB article applies to Imagicle UCX on-prem Suite owners. If your Imagicle UCX Suite is deployed in the Cloud, please contact Imagicle Support to apply internal settings.
Download the package available here and unzip it into a folder (e.g. C:\AlcatelOXOConnect)
Amend the file AlcatelOXOConnect\config\config.ini, these are the parameters:
oxo<INDEX>_targetHost: ip or hostname of Alcatel OXO Connect
oxo<INDEX>_localPort: local port where the application listens for incoming connections
The two parameters above contain <INDEX>, this must be replaced by an index (both numbers and letters are fine) and it has been introduced to support multi instance installations.
For example, if the customer has two OXO, the right way to configure the connections is:
oxo1_targetHost=192.168.150.64
oxo1_localPort=3000 #pay attention to use different local ports
oxo2_targetHost=192.168.4.120
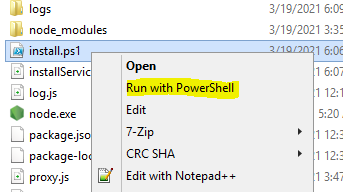
oxo2_localPort=3001 #pay attention to use different local portsRun with PowerShell the file AlcatelOXOConnect\install.ps1 using a user with administrative rights.
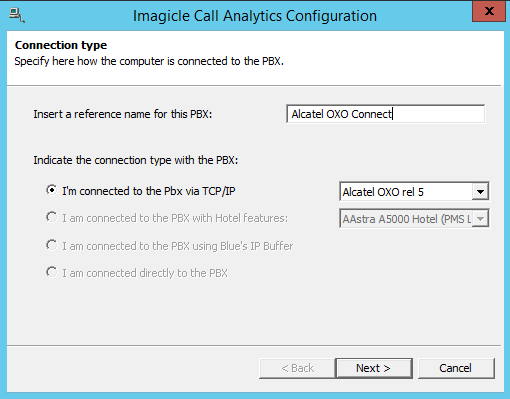
Open Call Analytics configuration wizard and create a new PBX (if the PBX exists edit the existing one)
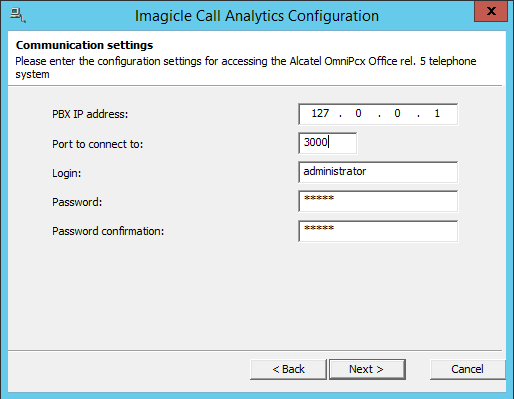
Under Communication settings change the IP address pointing to 127.0.0.1, using the local port configured above (default = 3000)
Complete the configuration and verify that CDRs are coming to Imagicle UCX Suite.
In case of issues please contact Imagicle Support team.