Imagicle UCX Suite can act as a CTI server and directly monitor and control Poly SIP Phones registered to an IP-PBX not supporting CTI. This is accomplished by installing two special components called Imagicle CTI Server and UC Full TSP on Imagicle on-prem or Cloud UCX Suite.
CTI components installation
Connect to the Imagicle UCX Suite server via Remote Desktop and download the following software packages from web:
Run both the executables and install everything with default parameters.
You can find "Imagicle CTI Configuration" application on Windows Start menu. If it is not available, restart the machine and restart the setup.
Launch the Imagicle CTI Configuration application. The main menu appears:
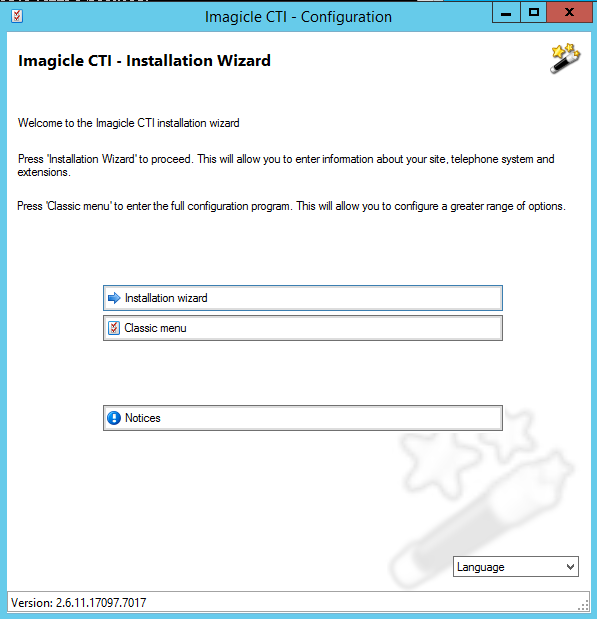
Select Installation Wizard
If actual license is not immediately available, please apply for a trial license. This requires an internet connection.
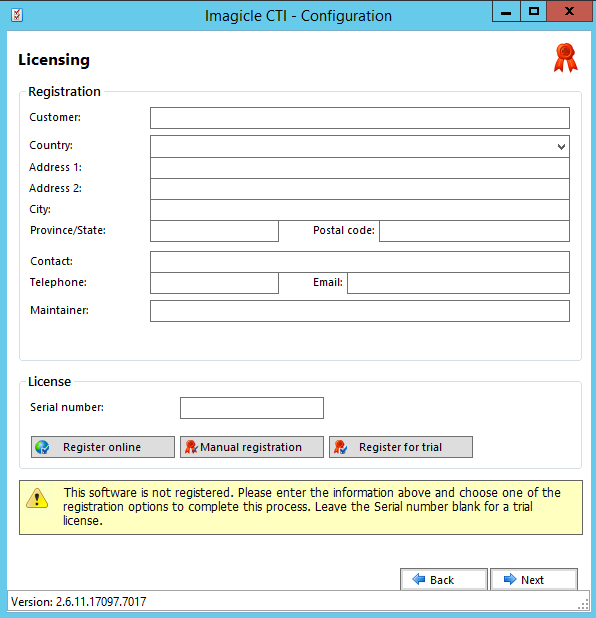
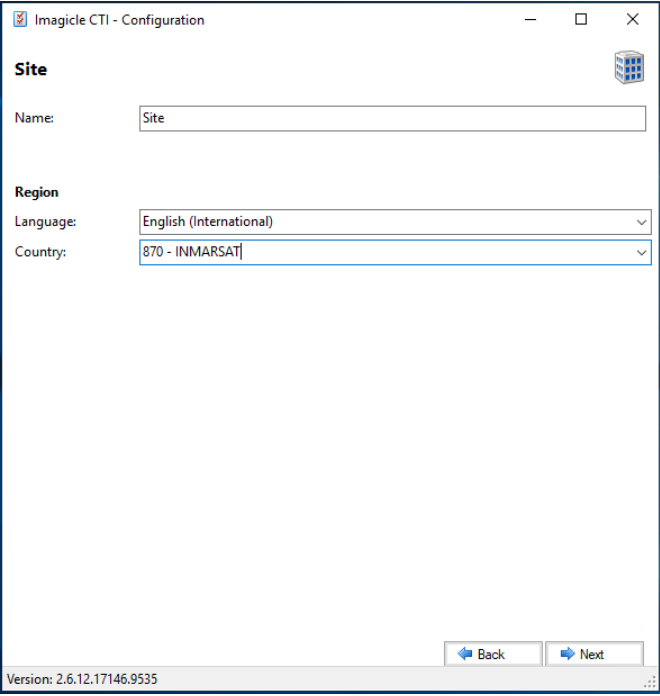
Once actual or trial license is activated, hit Next and proceed with entering the site data, entering the language English (International) and Country=INMARSAT. Then press Next again.
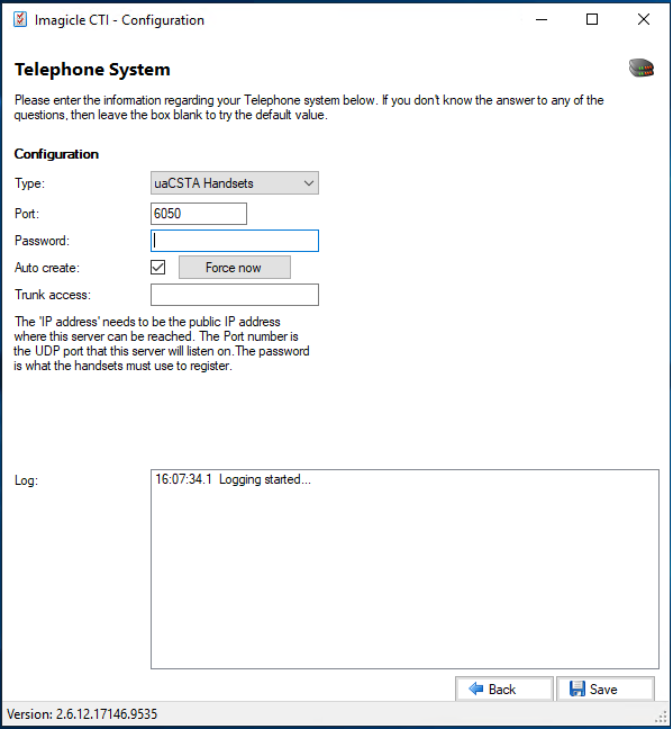
Telephone System window appears.
-
In the Type field, select "uaCSTA Handsets"
-
Port=6050
-
Auto creation must be flagged, to automatically acquire extensions
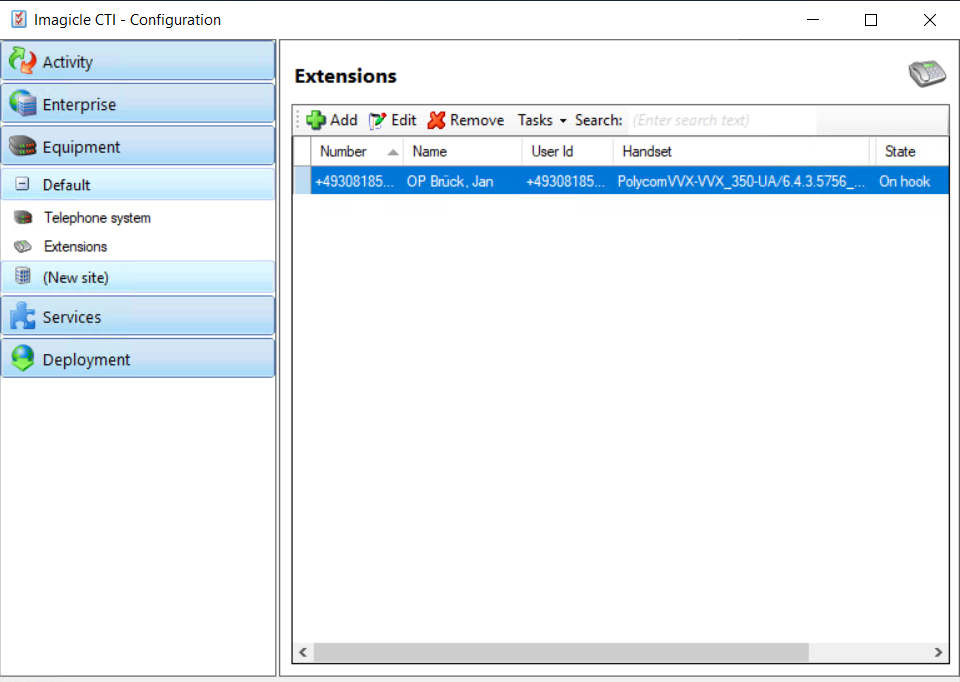
Save the data and then click next to check that all monitored phones are displayed:
Open "Phone and Modem" in the Windows Control Panel and remove UC Full TSP entry.
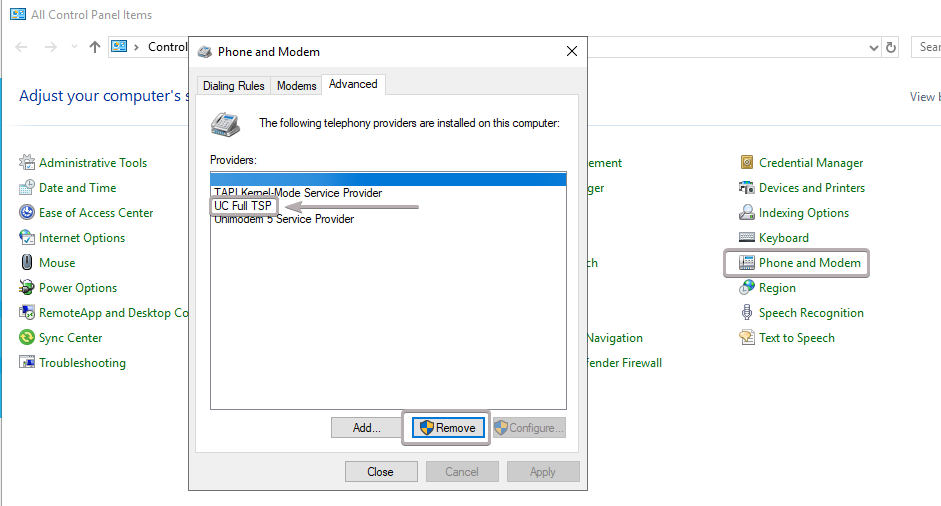
Click on "Add.." and select UC Full TSP again

Open Windows Service Panel, find "Imagicle CTI Telephony - Default"
Change Startup Type from Automatic to Automatic (Delayed Start)
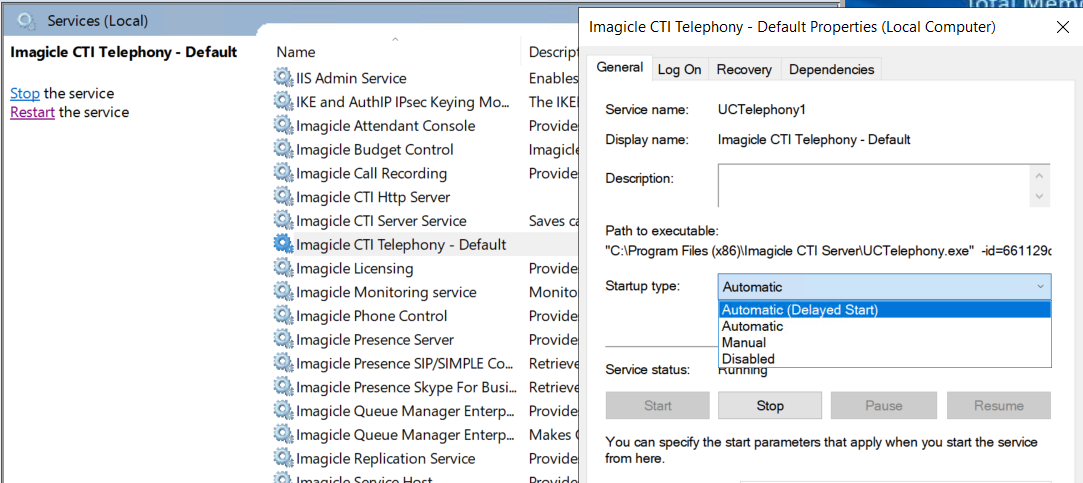
We suggest a full server reboot.
SIP Phones Enablement
Imagicle UCX Console solution for Cross Platforms offers the unique feature of allowing customers to leverage an IP-PBX, even if it doesn't support any CTI protocol, by autonomously monitor and control Poly SIP Phones VVX series, registered to the PBX.
Please contact Imagicle for a list of supported phone models, with relevant firmware version.
To monitor and control such SIP phones, customer network should allow SIP phones to reach Imagicle UCX on-prem or Cloud Suite, to establish a UDP-based CTI session between phones and Imagicle instance. SIP Phones must reach Imagicle UCX Suite IP address/FQDN using UDP port 6050.
Poly SIP Phones Configuration
Please login to Poly phone embedded web portal and, first of all, check if the firmware version is compliant with above table. If not, please download the latest firmware from Poly web site and follow the instructions for the update.
Once the firmware has been verified, go to Settings ⇒ Lines and select an unused line, like Line 2 in below screenshot sample:
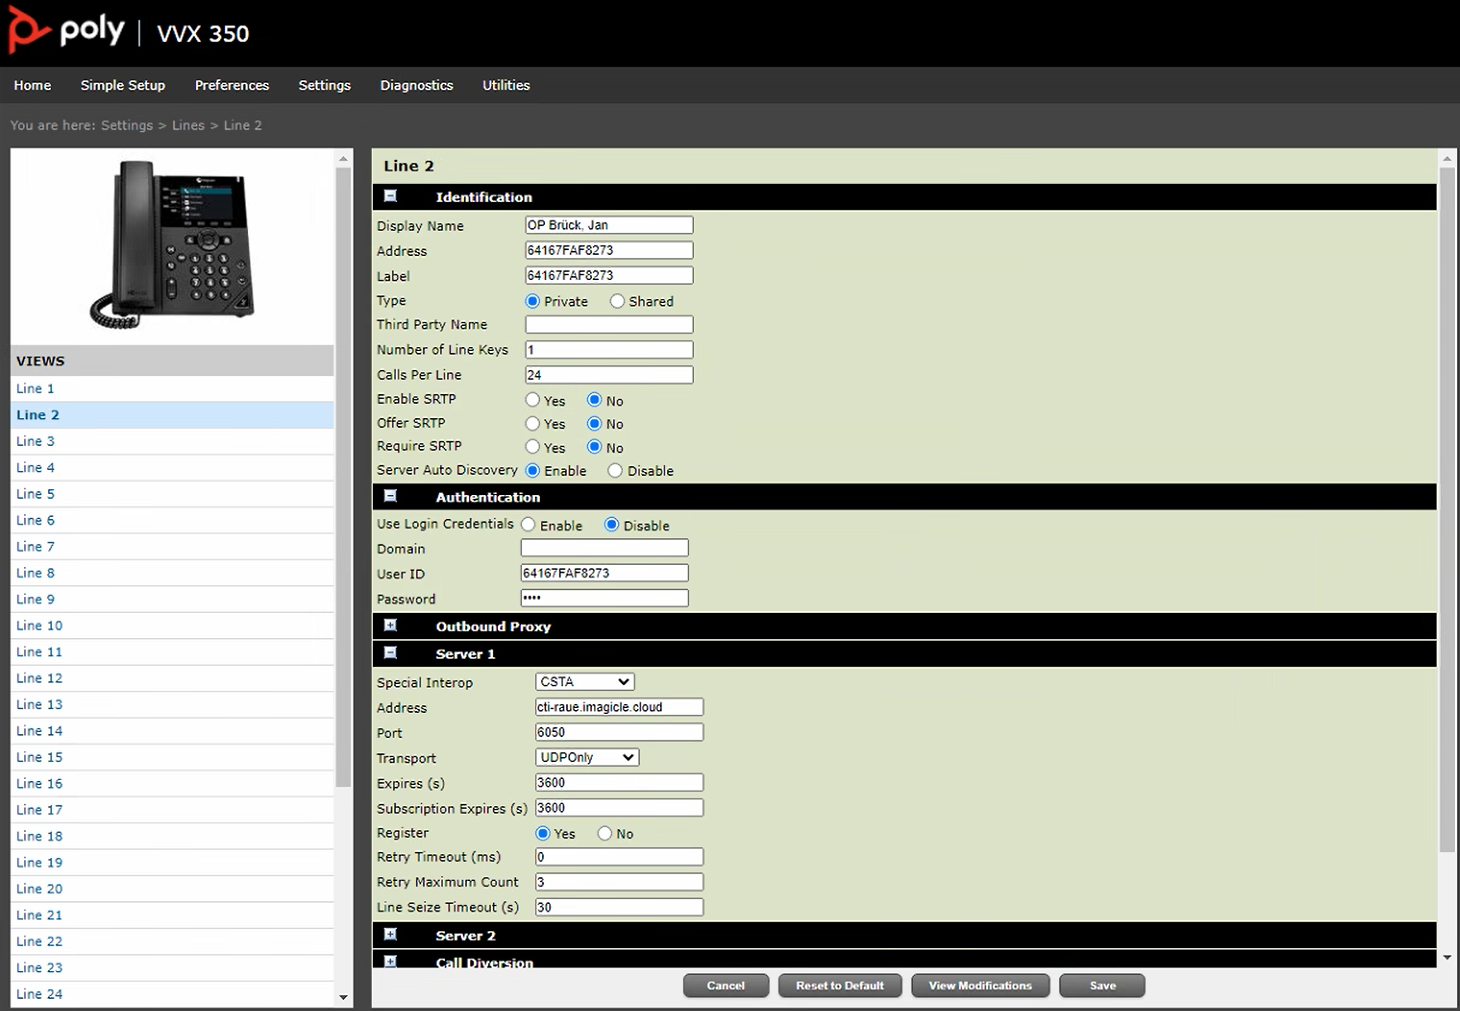
Now expand the Identification tab and compile the following fields:
-
Display Name: xxxxxx_op, where xxxxxx is the operator's name and surname (john.smith_op)
-
Address: copy here the phone's MAC address, without separators
-
Label: copy here the phone's MAC address, without separators
-
Type: Private
All other fields can be left as default values.
Now expand the Authentication tab and compile the following fields:
-
Use Login Credentials: Disable
-
User ID: copy here the phone's MAC address, without separators
-
Password: imagicle
Finally expand Server 1 tab and compile the following fields:
-
Special Interop: CSTA
-
Address: Imagicle IP/FQDN
-
Port: 6050
-
Transport: UDPOnly
-
Register: Yes
All other fields can be left as default values. Hit Save.
Now go to Utilities ⇒ Import & Export Configuration and export the configuration to a text file.
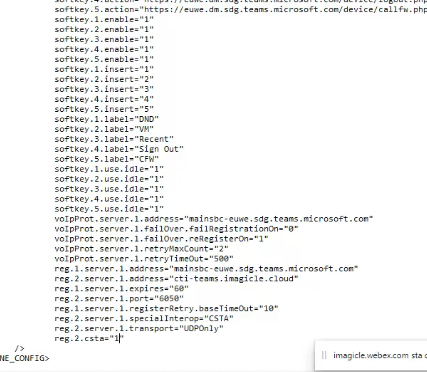
Open exported configuration with a text editor (notepad or similar) and append the following two lines at the end of the configuration file:
-
reg.x.csta=”1”, where x should be replaced with the line number added before (Line 2 in above sample) ⇒ reg.2.csta=”1”
-
VoIpProt.SIP.intercom.alertInfo=""
See below sample:
Save the file and upload it from the same "Import & Export Configuration" page.
Reboot the phone to enable new configuration. The phone should immediately establish a communication with Imagicle UCX Suite, through Line 2.