ACS-Based UCX Console Onboarding
Starting from Imagicle UCX Platform 2024.Summer.1 release, Imagicle provides a new ASC-based integration, allowing to directly integrate telephony features within Imagicle UCX Console.
MS ACS integration requires to accomplish the following steps:
Tenant onboarding
To allow Imagicle Cloud to retrieve the Microsoft Teams presence status of company users, customer needs to connect to the Imagicle Onboarding web page, compile the form with own MS-Teams tenant data, including the email account of a FULL ADMIN MS-Teams user. Once the form is submitted, customer is invited to AUTHORIZE the presence acquisition and subsequently log in to own Microsoft tenant.
The Microsoft user authorizing the application must grant above mentioned permissions for its tenant, even if she/he is not a Microsoft tenant administrator. Please make sure that above user's authentication does not leverage Multi-Factor Authentication (MFA). If that's the case, you need to add an exclusion in "Conditional Access policies", as explained in this Microsoft article.
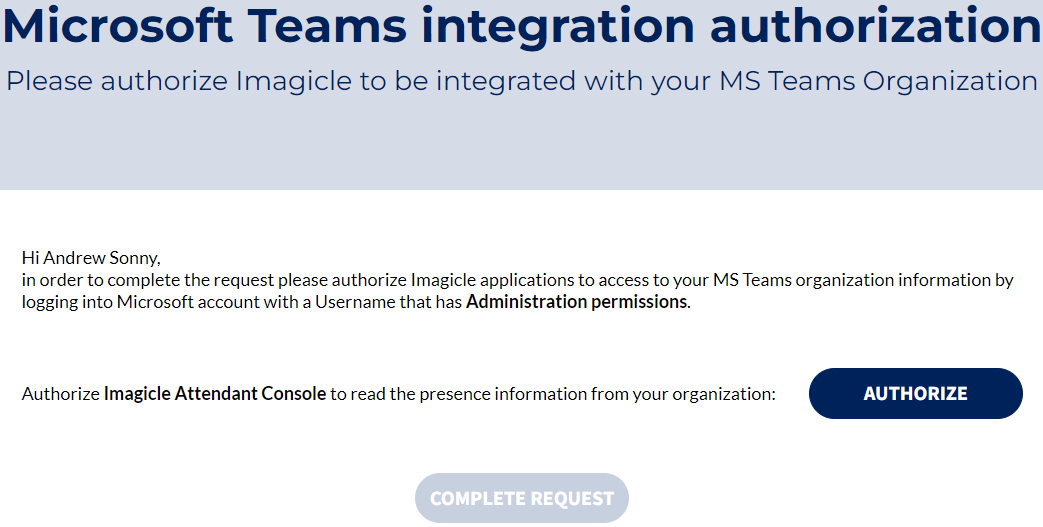
If the presence authorization is successfully accomplished, the blue button turns to green and you can COMPLETE REQUEST.
ACS Authorization
Next step requires to enter the following URI and authenticate using a Microsoft 365 Global administrator account:
https://login.microsoftonline.com/organizations/v2.0/adminconsent?client_id=3ec654d2-6f96-4abf-a5d1-460896d111fb&scope=3ec654d2-6f96-4abf-a5d1-460896d111fb/.default&redirect_uri=https://localhost/sso/redirectAs soon as the authorization request is sent to Microsoft, you get a pop-up window asking to grant the access to the following permissions:
Teams.ManageCalls: Manage calls in Teams → Allows call answer/transfer, etc.
Teams.ManageChats: Create, read, update, and delete one to one or group chat threads → Manage chat threads for some call scenarios.
User.Read: Sign in and read user profile → Get Entra ID User info, such as name, email, phone, department, photo, manager, direct reports.
User.ReadBasic.All: Read all users' basic profiles → Get Entra ID User info such as name, email, phone, department.
offline_access: Maintain access to data you have given it access to → Get information about the logged in user.
openId: View user's email address → Required for sign in
See below sample:

Click “Accept” to authorize above items. Web browser is redirect to a non-existing “localhost” page. This is normal.
To verify that the authorization correctly went through, please access to Azure web portal and go to “Enterprise Applications”. You should find a new “Imagicle ACS connector” application. See below:

ACS Connector should include the following Delegated permissions:

Users' provisioning and SSO
MS-Teams users should be imported from an external source, including all phone system users with relevant phone number and SIP UPN. Imagicle supports several import source but typically, in a MS-Teams environment, the source is Entra ID. Please find here the instructions to enable such provisioning.
Entra ID supports SSO with MFA, which can be enabled for web portal and UCX Console login. You can find here the details about how to enable such authentication.
UCX Platform configurations
Provisioned users should include operators/agents within Imagicle users' database, with all required fields compiled. See here for more details.
UCX Console Login
First time UCX Console login requires to fill some connection data and grant ACS permissions. Please read this article for more details.