Imagicle Call Recording Admin Guide
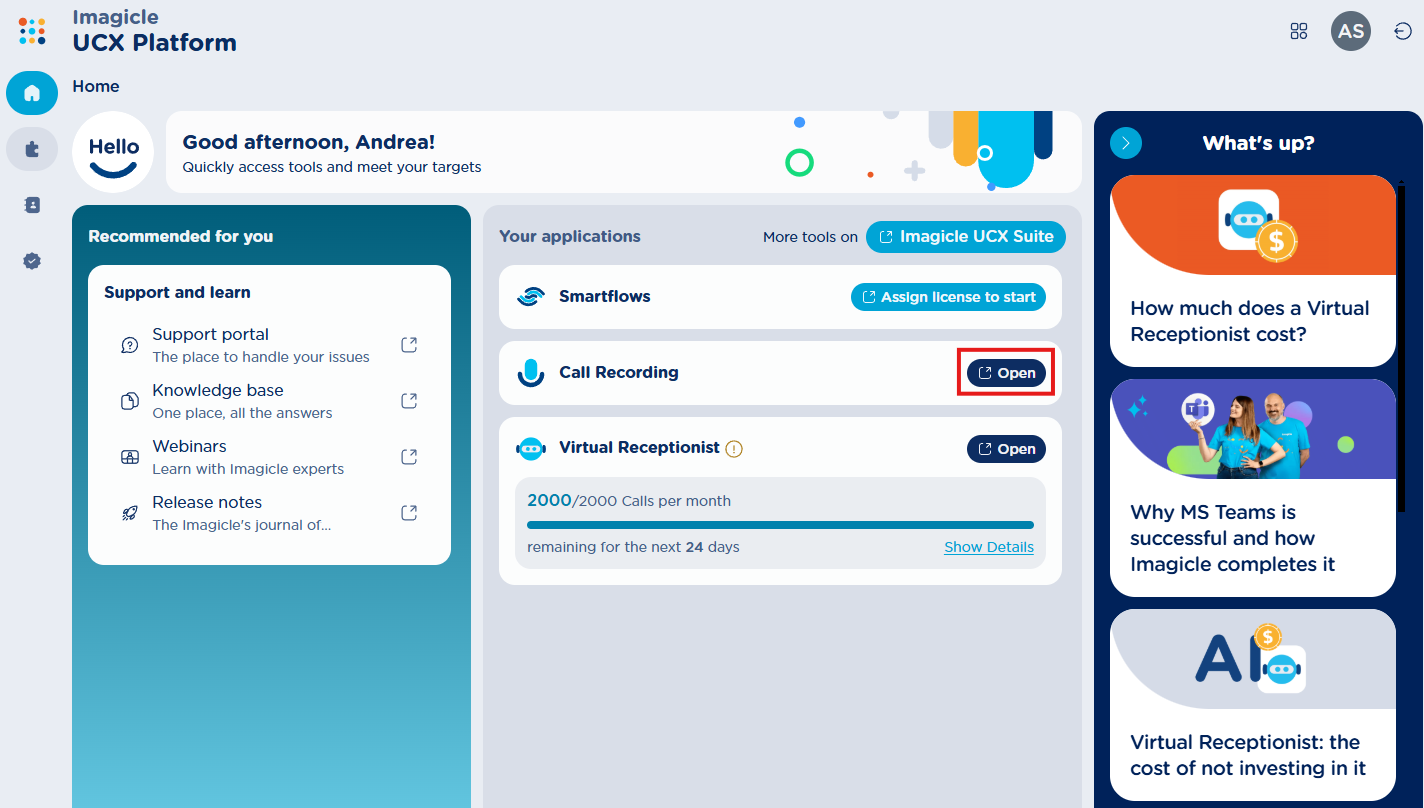
The access to Imagicle Call Recording is available within Imagicle UCX Platform web portal by selecting relevant option, as highlighted in below screenshot. By leveraging their standard login credentials, with or without SSO, each user accesses the UCX Platform web portal with own, specific permission level.
Username is always the email address. If your company is leveraging Single Sign-On authentication, then your login is redirected to your Identity Provider for multi-factor authentication, where applies.

Based on your job function, you can have access to Call Recording interface as Administrator or standard User. Administrator can provision new users and view/listen to all recordings, while a standard user can view/listen to own recordings only.
Call Recording Dashboard
Once authenticated, user accesses to Call Recording Dashboard page, which shows statistical data about the users’ behaviors, in terms of volume of recorded calls and relevant duration. Below you can see an Imagicle Call Recording Dashboard sample:

On top page header, you can apply multiple filters on collected conversations:
Date filter → Filter by a predefined time interval or by a custom date range. See below:


Users’ filter → Allows to apply a filter to consider recorded conversations performed by specific users only. See below:

Funnel icon
→ to remove all configured filters.
Analyzed data involves all selected users and it provides three “widgets” including different data:
Overall Recording counters
Left side panel displays overall number of recorded conversations, split in a slider graph by inbound (cyan) and outbound calls (green).
Below these counters, you can find the average call duration.
Below average call duration, you can find the total number of recording users and how many of them have recorded conversations (green).
Call Trend
This widget includes a graph representing recorded calls trends of those conversations included in applied time frame, by volume and call duration selectable levels.
X-axis represents selected time frame, where a proper time unit is applied depending on filtered time range: hour, day, week, month.
On top of the widget you can find two buttons, to toggle Volume and Duration graph patterns.
COMPARE switch on top-right allows to show or hide trend patterns related to previous adjacent time frame. Previous time frame trend patterns are displayed with light blue bar chart for Volume and dotted line for Duration. If you hoover mouse pointer on this widget, additional data is displayed:
Applied time frame and adjacent previous time interval, considered to display relevant trend patterns.
By double-clicking on any Volume or Duration graph bar/line, you are redirected to the Recordings page, where the list of recordings relevant to the graph item is displayed.
Call Volume/Duration variations
Two widgets are included in the right side of the Dashboard, to provide the variation between selected time period and previous adjacent period. This is useful to understand the users' behavior in terms of number of recorded calls and relevant calls duration relative incremental data.
Users by Call Volume/Duration
Two additional widgets are included in the Dashboard, to provide:
Users by Call Volume → List of users sorted ascending/descending by amount of recorded calls. Info ballon help are available to display the amount of incoming/outgoing call counters.
Users by Call Duration → List of users sorted ascending/descending by total recorded calls duration. For each user, average call duration is displayed too.
COMPARE switch is available in both above widgets, to show or hide volume/duration data related to previous adjacent time frame. Previous time frame variations in percentage are displayed in cyan.
You can click on any user’s entry, to be redirected to the Recordings page, where the list of recordings relevant to that user is displayed.
Other menu options
On left-side bar, four options are available:
→ to access recordings dashboard (default landing page)
→ to access recorded conversations list
→ User Groups management
→ to access Call Recording settings
On top-right corner, you can find two icons:
→ Logout to UCX Platform
→ Switch to another UCX Platform application
Recordings Page
Next available menu item is Call Recording’s Recordings page, which shows the list of all available recordings performed by one or multiple users. Below you can see an Imagicle Call Recording’s conversations page sample:

For each recording entry, the following data is available:
Dir → Call direction:
= Inbound;
= OutboundFrom → Calling Party name or phone number
To → Called Party name or phone number
Date & duration → Date/time stamp, call duration
Info → Icon
indicates that a text note has been added to this recording; Icon
indicates that the recording has been tagged for a longer retention (legal hold)Tags → Matched tag(s) inside the conversation
On top page header, you can apply filters on conversations list, similar to those highlighted in Dashboard section:
MORE FILTERS → allows to apply additional search criteria across all recordings. See below:

This is the native recording identifier coming from the Calling Platform.
This is the unique recording identifier assigned by Imagicle UCX Platform.
Recording details & playback
From Call Recording’s Recordings page, you can click on any available recording to access relevant details page, embedding an audio player. See below screenshot sample:

Recording summary header
The following options are included in top header:
→ Legal hold button, to enable additional recording retention.Recording date/time stamp and duration
Call parties names and/or phone numbers
→ Info button to display recording metadata and download recording audio
→ Download recording audio button→ Delete selected recording
Recording Metadata

Metadata tab
Recording technology → indicates the Calling Platform is use. This field determines the type and structure of the platform-specific IDs associated to each recording.
Calling platform ID, → Displays the identifiers associated to each call, depending on the recording technology. It helps matching the recording between Imagicle Recorder and the native calling platform. If no data is available for a specific field, a dash (
-) is displayed.File digest (SHA256) → Displays audio recording checksum value, to make sure nobody has modified its content.
Download tab
To download audio recording in MP3 unencrypted format.

Audio Player
Under recording summary header, you can find a graphic pattern representing audio recording over a blue background. This is actually an audio player, which allows to listen to the whole recording content.
Notes and Tags
Note panel allows the user to add a text note indicating the subject of the conversation and other valuable information. This note is searchable from Recordings page.
Tags panel allows to add specific tags to the recording, for an easier retrieval of several recordings matching one or multiple tags.
Call Recording Groups Management
From any Call Recording web page, you can click on Groups Management icon
to access relevant web page. See below screenshot sample:

From this page, an Administrator can create, review, or delete users’ Groups.
Create a new Group
By clicking on green “CREATE GROUP” button or by editing an existing one, the following pop-up windows appears. See below samples:

New Group

Edit existing Group
Please enter a Group Name (mandatory), and select the supervisors for this group, out of existing UCX Platform users. Then you can add one or more group members, again selected from existing UCX Platform users. Eventually hit “CREATE” or “SAVE” to save the Group.
Call Recording Settings
From any Call Recording web page, you can click on Settings icon
to access relevant web page. See below screenshot sample:

Data Management
This section allows to setup the overall recordings retention period for all recording-enabled users. Typically, you can keep the default “Keep forever” value, because Imagicle provided unlimited storage within its Cloud. To adhere local regulations, you can set a maximum recording retention time in days or hours by clicking on Recording retention panel:

In this section, you can also enable recordings tagging for Extra retention (legal hold). If you click on this panel, you can either disable the feature, enable it for an additional retention period in days or enable it for unlimited retention. See below sample:

This rule is applied to those recordings which have been tagged by users for legal hold by hitting
icon from Recordings page. Each conversation tagged for legal hold displays
icon on top header.
Microsoft Teams Recorder
This section allows to setup the MS-Teams Call Recording scope, such us call direction and traffic type, and populate a black list of phone numbers NOT to be recorded.
Recording filters
This panel enables administrator to decide which call types to be recorded at global level: Group/meeting and unparked calls, internal/external calls and inbound/outbound calls. See below:

Recording blacklist
This panel allows to populate a table with phone numbers/ranges that you wish to deny the recording. The application applies the blacklist rule to both calling party and called party numbers. See below:

Special wildcard characters can be added in each phone number:
+can be used at the beginning to indicate an international prefix (e.g.+39!excludes all numbers starting with +39);*and#symbols, commonly used in telephone dialing;Xmatches any single digit (e.g.90XXexcludes all 4-digit numbers starting with 90);.matches any digit,*, or#(e.g.90..excludes numbers like 9012, 90*#, 901*);!matches any sequence of digits (e.g.9!excludes all numbers starting with 9);
Recording policy
Recording policy defines whether recordings are automatic (always-on) or user-controlled (on-demand).
The administrator can filter for the following value:
Default Policy:
Always on → All user calls are automatically recorded;
On demand (default) → Users can manually start/stop their recordings.
Policy by User – Administrator can override above default policy for individual licensed users, by selecting an override value from pull-down menu:
Default
Always on
On demand
The user list is searchable by name, surname, or email. Administrator can filter the list by all users or users with overridden policies.
