Product Administration
To access the Imagicle Manager Assistant administration web portal is enough to point to http(s)://<IP_ADDRESS>, where <IP_ADDRESS> is the IP configured during the VM's deployment.
Default credentials are:
- user: admin
- password: admin
Configuration of the integration with the CUCM
Before adding managers and assistants, it is mandatory to configure the integration between Imagicle Manager Assistant and the CUCM. Please, follow the steps below.
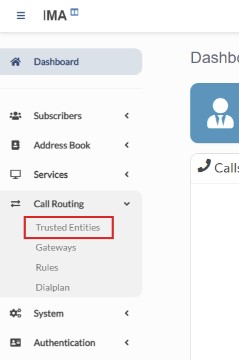
First of all, we have to configure Imagicle Manager Assistant in order to trust all the CUCM cluster nodes it has to deal with:
click on Call Routing ⇒ Trusted Entities and then on the "+" button to add a new entity (an entity is a single CUCM node)
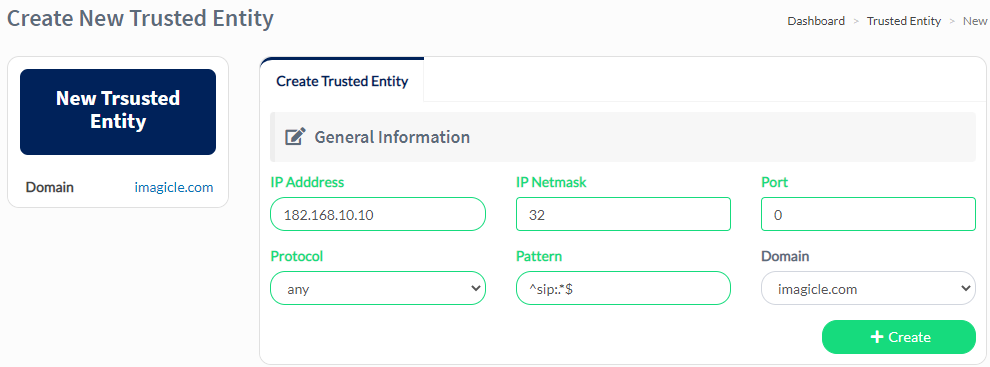
For each entity/CUCM node, configure the following parameters (leave the other ones with the default value):
- IP Address: set the IP address of the CUCM node (or the IP of the default GW of the subnetwork*)
- IP Netmask: set 32 to trust only the configure IP Address or another value to trust the subnetwork*
- Port: set 0. It is the allowed source port (0 allows all ports from the CUCM node)
- Protocol: set Any. It is the transport protocol used by the CUCM node (TCP and UDP are also supported)
- Pattern: set ^sip:.*$. This is the Regex expression which allows any SIP protocol request
- Domain: just leave the proposed value, that is the configured domain (e.g., imagicle.com)
then click on Create
You have to repeat above procedure for each CUCM node running the Call Manager service.
* NOTE: if all nodes belong to the same network, it is possible to trust the whole subnetwork, in that way you have to add only one entity: set the IP Address with the IP of the default gateway for the subnetwork and then set the IP Netmask with the proper value (e.g., if IP Address=10.10.10.1, you can set IP Netmask=24 to trust the whole subnetwork 10.10.10.X).
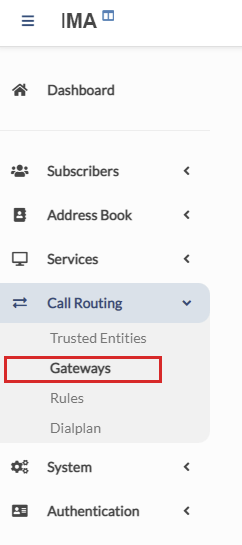
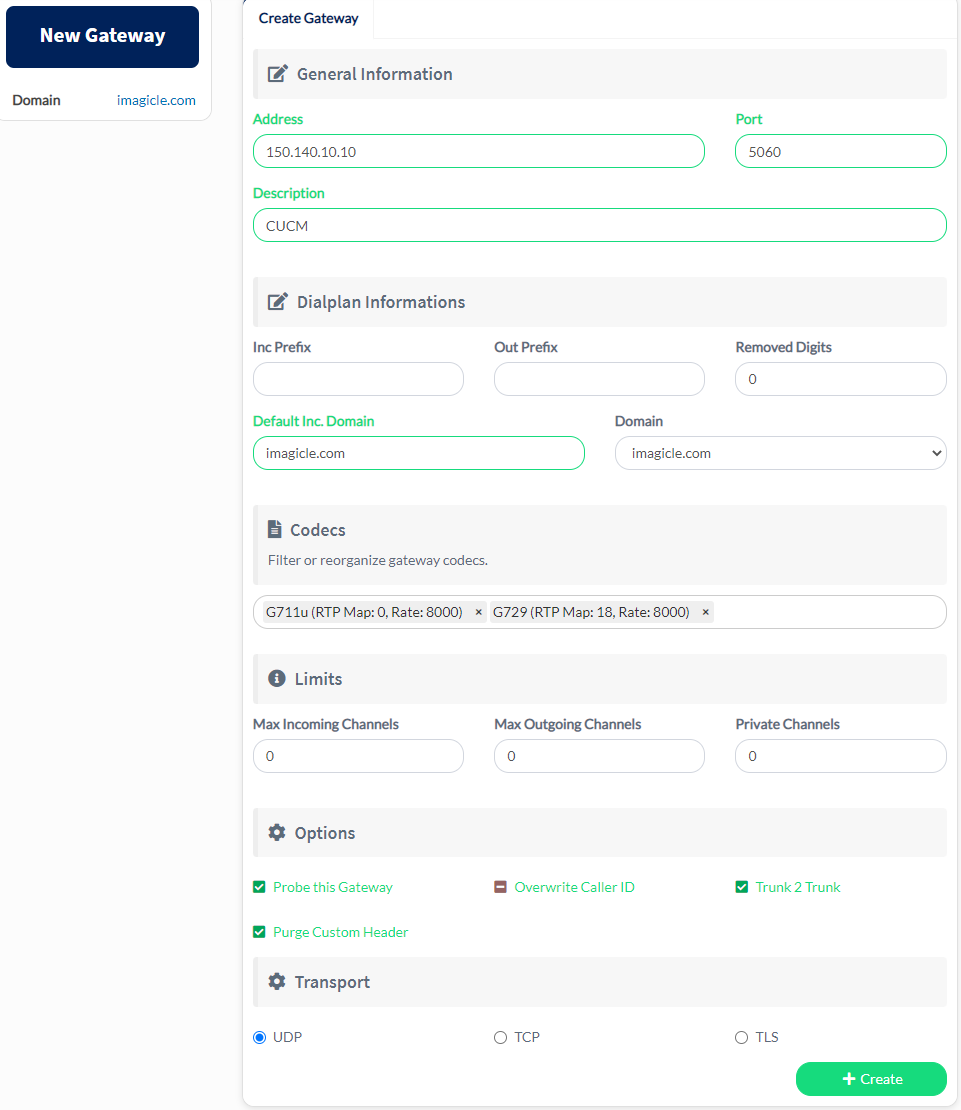
Next step is the Gateways configuration, so click on Call Routing --> Gateways and then on the "+" button to add a new gateway
For each entity, configure the following parameters (leave the other ones with the default value):
- General Information
- Address: it is the IP address of the CUCM node where the SIP Trunk terminates
- Port: set 5060. It is the port of the CUCM node where the SIP Trunk terminates
- Description: it is just a label to describe this gateway
- Dialplan Information
- Default Inc. Domain: set the domain you have configured (e.g., imagicle.com)
- Domain: set the domain you have configured (e.g., imagicle.com)
- Codecs: it is the list of allowed codecs. It depends on the supported codecs by the CUCM. The order they are added matters*
- Options
- Overwrite Caller ID: set disabled
- Trunk 2 Trunk: set enabled
- Probe this Gateway: set enabled only if the remote gateway supports SIP OPTIONS messages and you want to manage failover scenarios. Otherwise, leave set disabled
- Purging Customer Headers: set enabled
- Transport: UDP
then click on Create
* NOTE: Imagicle Manager Assistant has not Media Termination Point feature. If configured codecs are not negotiated by the remote party, the call is ended.
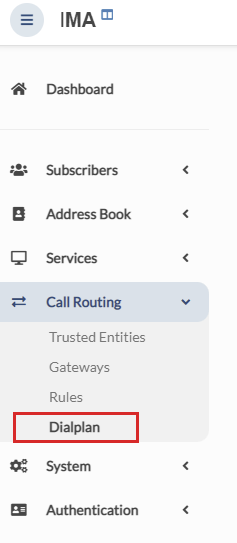
Next step is the configuration of a dial plan to route calls to Managers and Assistants users. So click on Call Routing ⇒ Dialplan and then on the "+" button to add a new dial plan
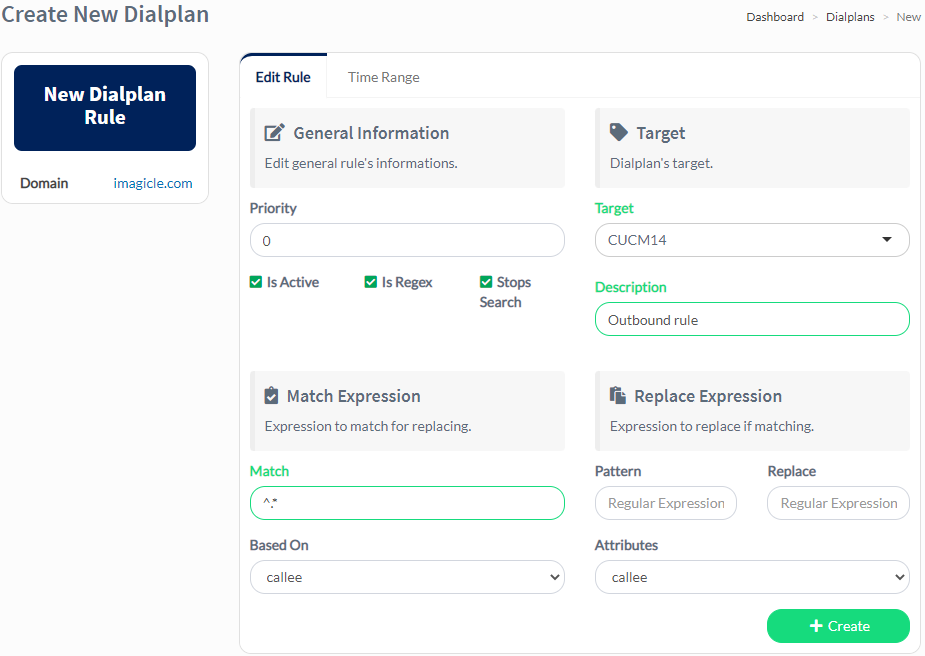
Configure the following parameters (leave the other ones with the default value):
- Target
- Target: it is the gateway configured in the step above (e.g., CUCM)
- Description: it is just a label to identify this dialplan (e.g., Outbound Rule Match)
- Match Expression
- Match: set ^.*. This is a wildcard to match any number
- Based On: set callee.
then click on Create
after that, click on Save to apply all the changes
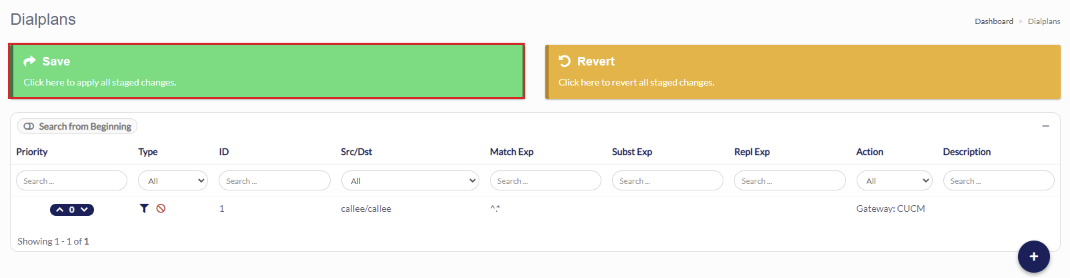
At this point, we have completed the integration between Imagicle Manager Assistant and the CUCM(s). Next step is the configuration of managers and assistants.
Adding a new Manager
In order to add a new manager, some configurations are required. Please, follow the steps below.
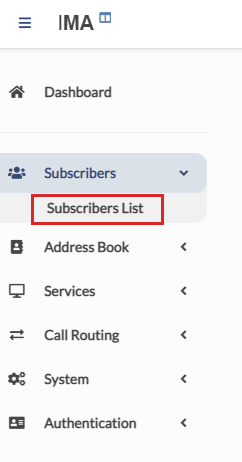
Subscribers List
For each manager, you have to add a new subscriber, so click on Subscribers ⇒ Subscribers List and then on the "+" button to add a new subscriber
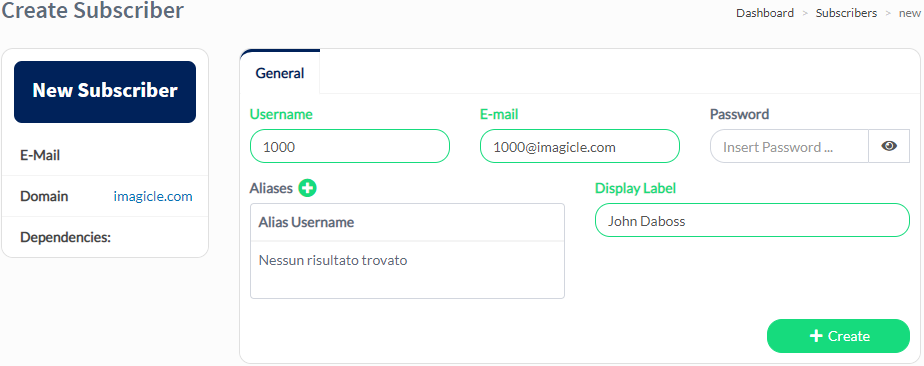
configure the following parameters (leave the other ones with the default value):
- Username: it is the manager's DN (e.g., 1000)
- Display Label: it is the manager's display name (e.g., Bob Smith)
then click on Create
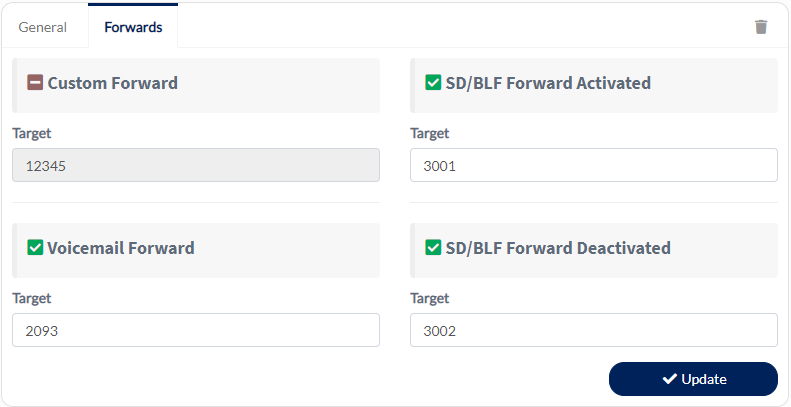
Edit newly created Subscriber, select "Forwards" tab and enter the following data:
- Voicemail forward: Check relevant flag and enter Manager's voice mail number
- SD/BLF Forward Activated: Check relevant flag and enter an Auto Attendant or Queue number to play an announcement for IMA filter enabled (optional).
- SD/BLF Forward Deactivated: Check relevant flag and enter an Auto Attendant or Queue number to play an announcement for IMA filter disabled (optional).
Please repeat above procedure for each Manager.
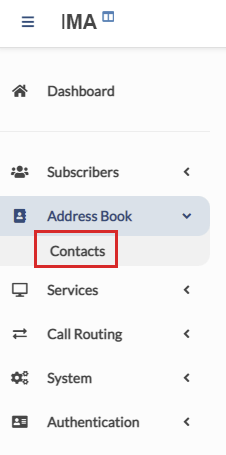
Manager's Contact
Next steps allows to assign "Manager" role to each Subscriber.
Click on Address Book --> Contacts and then on the "+" button to add a new contact
configure the following parameters (leave the other ones with the default value):
- Name: it is the manager's first name
- Surname: it is the manager's last name
- Profiles: set Manager
then click on Create.

once you've clicked on Create, don't close the contact's panel and click on Contact Info tab and then on the "+" button to add a new contact information
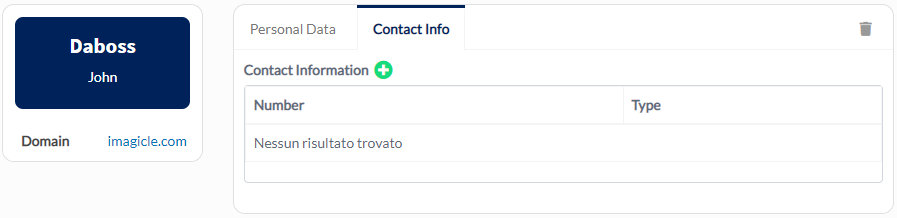
configure the following parameters (leave the other ones with the default value):
- Number: set the manager's number
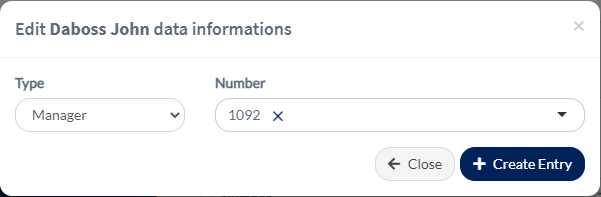
Click on Create Entry.
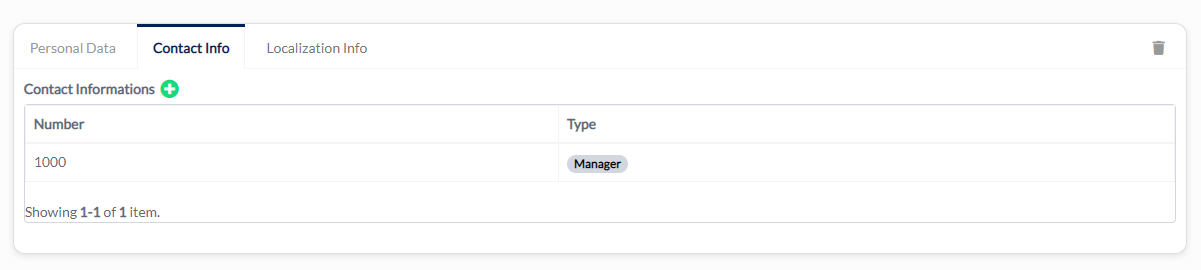
At this point, the manager's contact configuration is completed. Please repeat above Contact creation for each Manager.
Manager/Assistant Service Creation
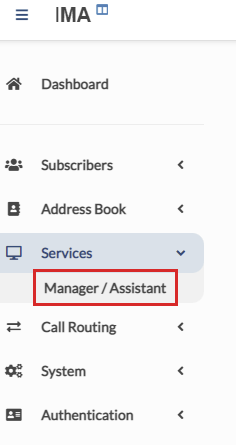
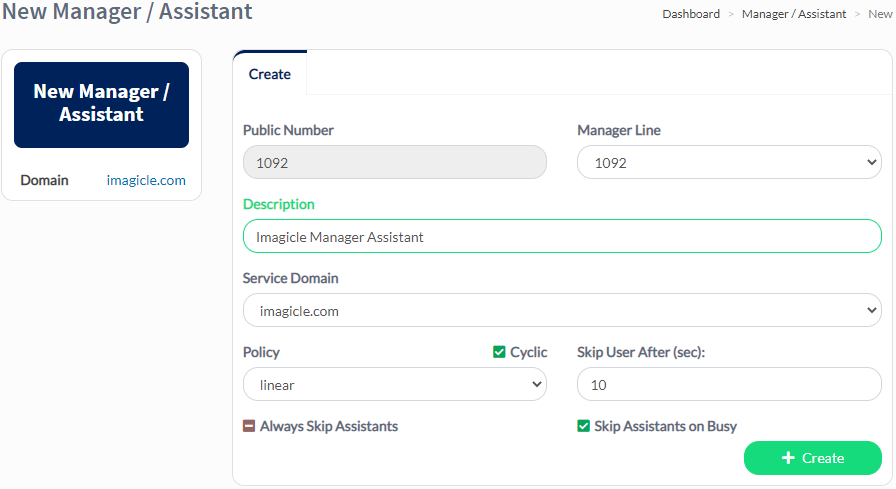
Now you have to create the Manager/Assistant service, so click on Services --> Manager / Assistant and then on the "+" button to add a new service
configure the following parameters:
- Manager Line: set the manager's number associated to this service
- Description: it is just a label to describe this service (e.g., Imagicle Manager Assistant)
- Service Domain: set the domain this service belongs to (e.g., imagicle.com)
- Policy: it is the calls distribution algorithm for the assistants:
- linear: assistants' phones will sequentially dialed with the same order they have been configured
- random: assistants' phones will randomly dialed
- parallel: all assistants' phones will ring at same time
- Cyclic: if enabled and linear policy is selected, the distribution algorithm starts again from the first assistant when it reaches the last one
- Always Skip Assistants: Keep this flag unchecked to leverage Imagicle Manager Assistant filter. See Manager Assistant User Guide for more details
- Skip User After (sec): this parameter appears when selecting "linear" or "random" policy. The maximum duration (in seconds) of the consultation transfer to assistants. When this time value has been exceeded, Imagicle Manager Assistant retrieves the call and tries to engage the next assistant
- Drop call after (sec): this parameter appears when selecting "parallel" policy. No answer timeout for assistants.
- Skip Assistants on Busy: if enabled, calls are transferred to the manager if all assistants are busy
then click on Create.
Once you clicked on Create, below popup will show up, it is just a reminder to add assistants. Just click on Confirm:
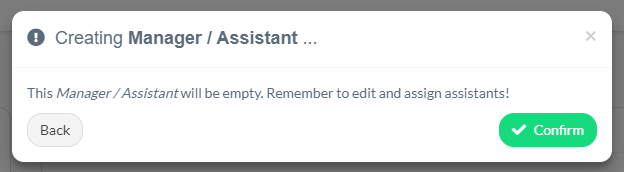
Please create a Manager/Assistant Service for each configured Manager.
Adding Assistants
Below steps can be applied if above Manager/Assistant services have been already configured and relevant managers have been already assigned.
In order to add a new assistant, some configurations are required. Please, follow the steps below.
Subscribers List
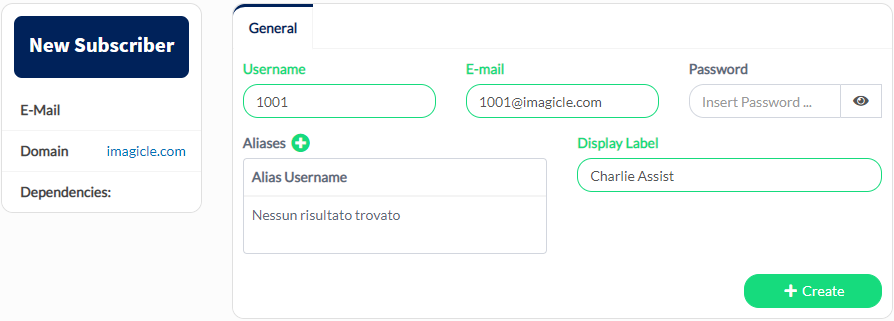
For each assistant, you have to add a new subscriber, so click on Subscribers ⇒ Subscribers List and then on the "+" button to add a new subscriber
configure the following parameters (leave the other ones with the default value):
- Username: it is the assistant's DN (e.g., 1001)
- Display Label: it is the assistant's display name (e.g., Mark Davies)
then click on Create
Please repeat above procedure for each Assistant.
Assistant's Contact
Next steps allow to assign "Assistant" role to each Subscriber.
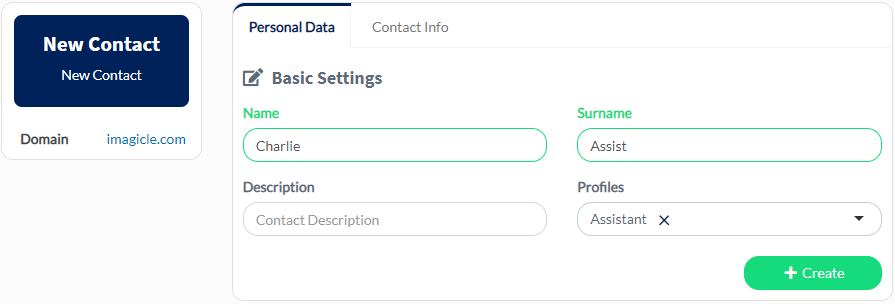
Click on Address Book ⇒ Contacts and then on the "+" button to add a new contact
configure the following parameters (leave the other ones with the default value):
- Name: it is the assistant's first name
- Surname: it is the assistant's last name
- Profiles: set Assistant
then click on Create.
once you've clicked on Create, don't close the contact's panel and click on Contact Info tab and then on the "+" button to add a new contact information
.png)
configure the following parameters (leave the other ones with the default value):
- Number: set the assistant's number
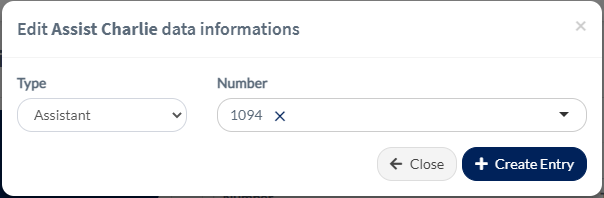
Click on Create Entry.

At this point, the assistant's contact configuration is completed. Please repeat above Contact creation for each Assistant.
Add Assistants into Manager/Assistant Service
Now you have to associate the newly created assistants to an existing Manager/Assistant Service, so click on Services ⇒ Manager / Assistant
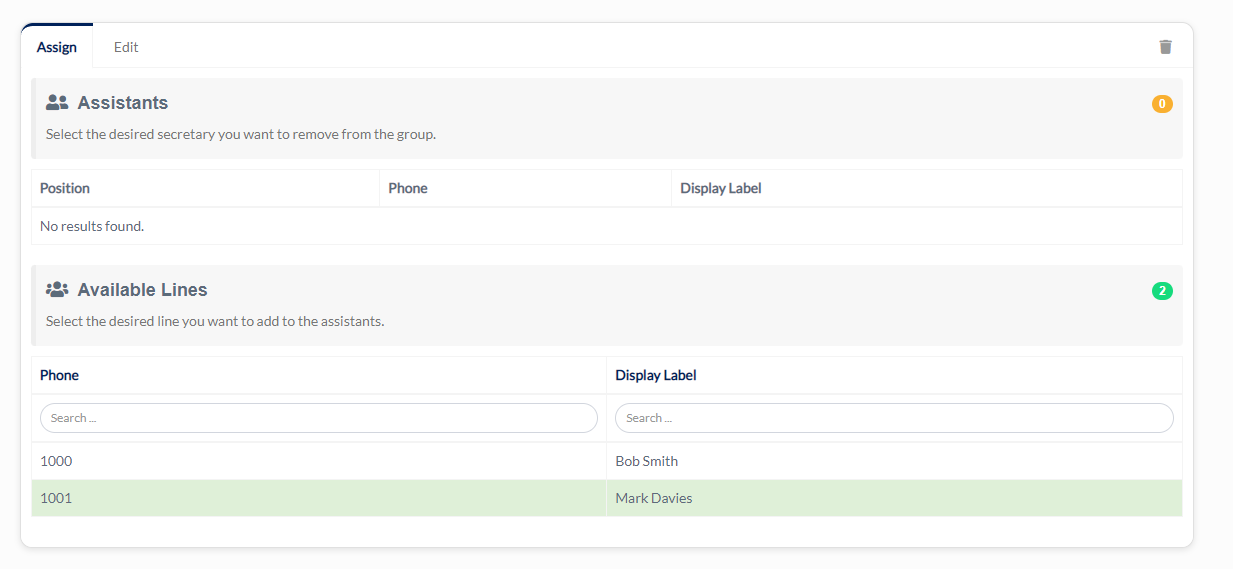
then click on the service you want to associate the assistant to:

select the assistant's line from the available line list
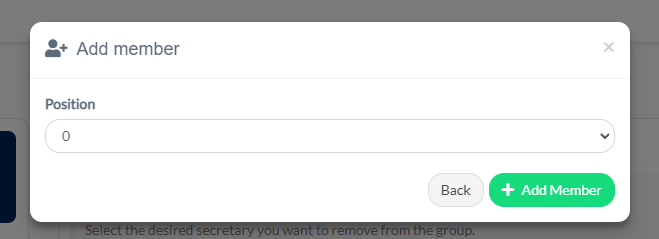
you will be prompted with below popup to select the assistant position, that will be kept in consideration only if the distribution policy is Linear. Select the position and then click on Add Member
At this point, we have successfully associated an assistant to the relevant service
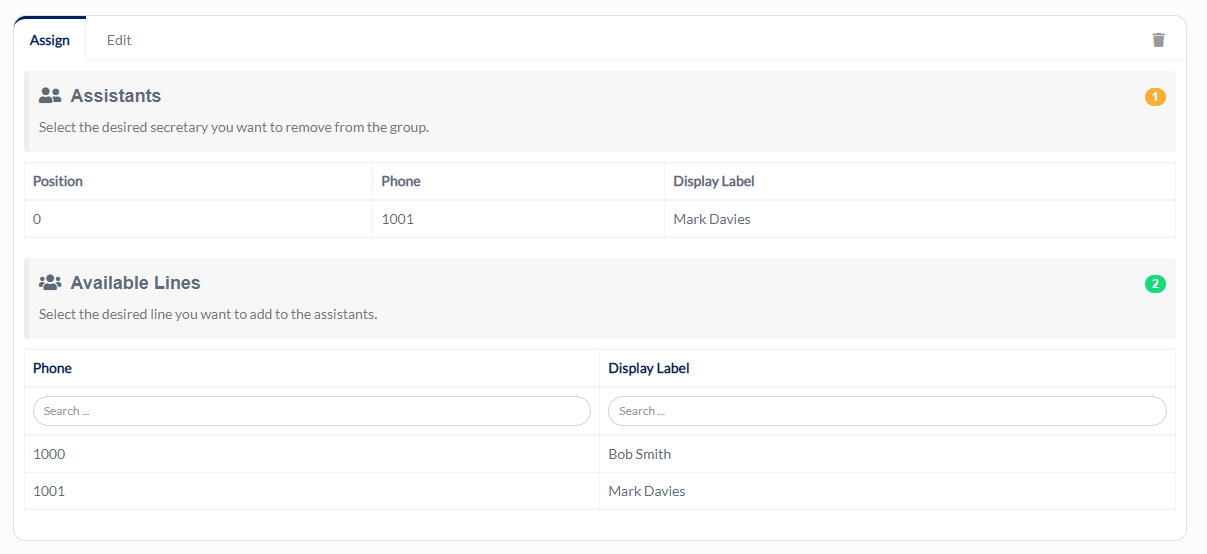
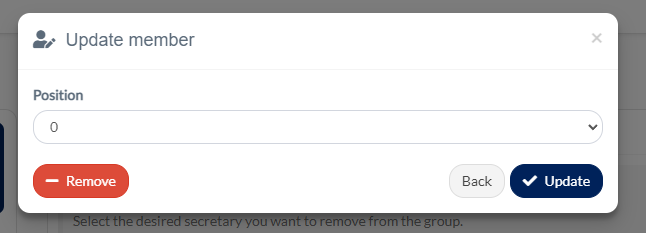
If you need to remove an assistant or change his/her position, just click on his/her row in the assistant list and below popup will show up. From here, you can remove the assistant or just change the position (valid only for Linear distribution policy)
Enabling users' access to Imagicle Manager Assistant's gadget
In case of either a manager or an assistant needs to access the Imagicle Manager Assistant gadget for Jabber/Webex, you have to configure a username and a password in order to allow gadget logon.
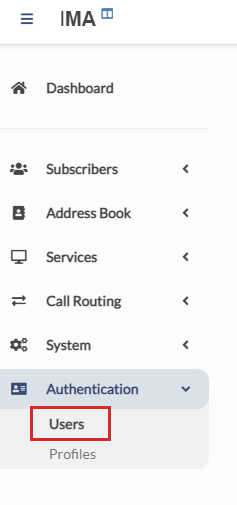
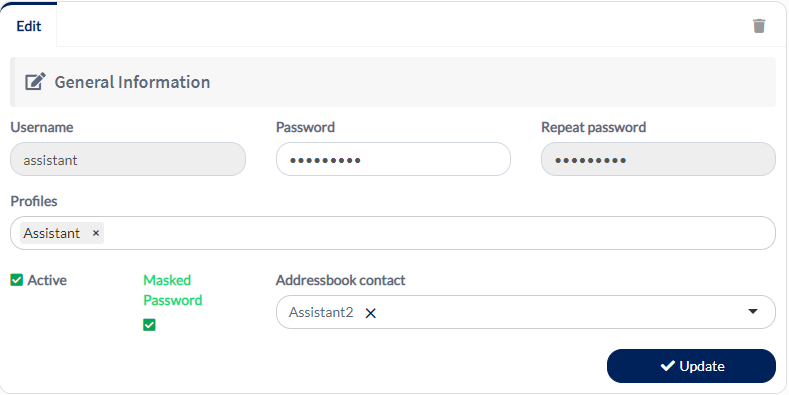
Click on Authentication ⇒ Users and then on the "+" button to add a new user
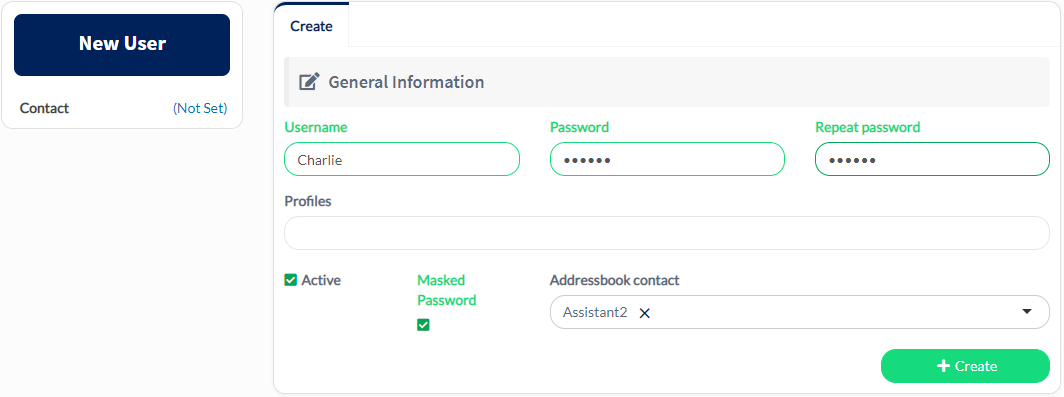
configure the following parameters (leave the other ones with the default value):
- Password
- Repeat Password
- Addressbook contact: select the address book contact associated to this user
then click on Create.
Click again on the newly created user
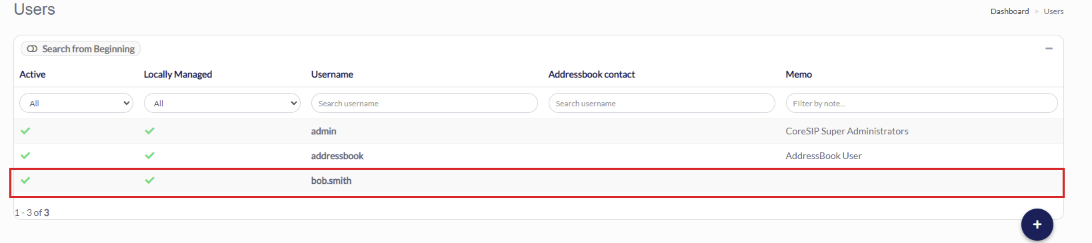
configure the Profiles and set Manager if the user is a manager or Assistant if the user is an assistant. Then click on Update
At this point the user's credentials are ready to be used with the Imagicle Manage Assistant gadget, reachable at URL http://IMA_IP_address/coresip/web/jabber/ima/
|
||

| This article was: |
| Prev | Next | |
| PBX Configuration | User Guides |