
This article describes how to configure Okta to enable Imagicle users to login to web portal, gadgets and Attendant Console with Single Sign-on based on SAML protocol.
Prerequisites
In order to successfully configure your Okta, you should have the following data:
-
User Pool ID\Entity ID
-
Redirect URI
More details available here.
Moreover, you must have a valid Okta Developer account. Please access to Okta Developer signup webpage to sign up and activate your account, associated to your company domain.
Procedure
-
Sign in to Okta Developer portal, using your domain account.
-
In the navigation menu, expand Applications, and then choose Applications.
-
Choose Create App Integration.
-
In the Create a new app integration menu, choose SAML 2.0 as the Sign-in method.
-
Hit Next.
-
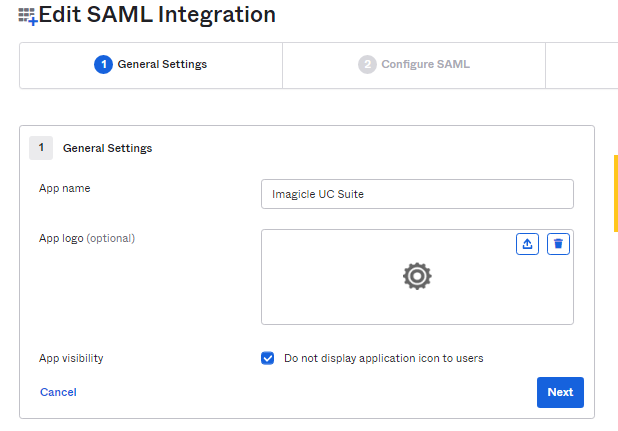
Please enter an App name, like above "Imagicle UC Suite" and hit Next.
-
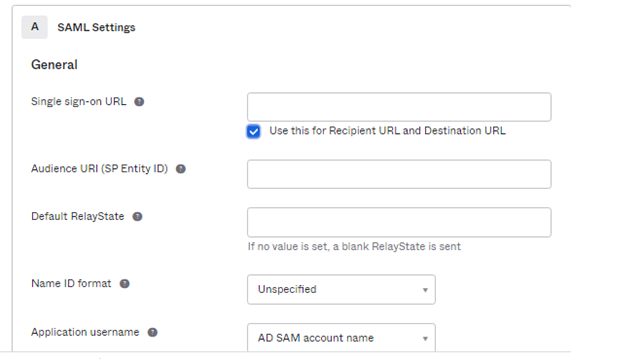
Compile above form with following data, leaving other fields with default values:
-
Single sign-on URL: Enter here the Redirect URI provided by Imagicle
-
Audience URI (SP Entity ID): Enter here the User Pool ID provided by Imagicle
-
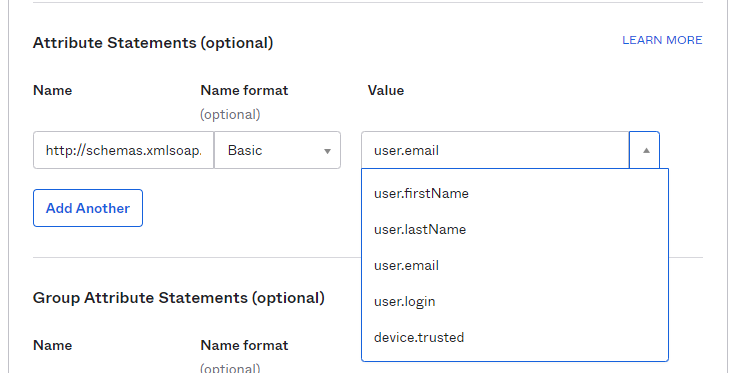
Under Attribute Statements (optional), please enter:
-
Name:
http://schemas.xmlsoap.org/ws/2005/05/identity/claims/emailaddress -
Name Format: Basic
-
Value: user.email
-
-
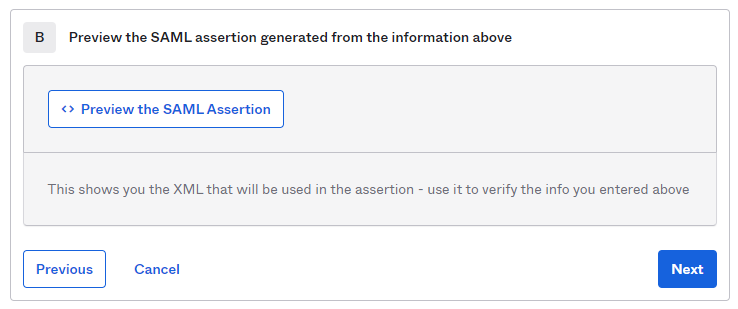
At the bottom of this web page, you can click on "Preview the SAML Assertion" to trigger the pop-up of a new web panel including the SAML Assertion. Please verify that all data is consistent.
-
Hit Next.
-
Choose a feedback response for Okta Support.
-
Choose Finish.
-
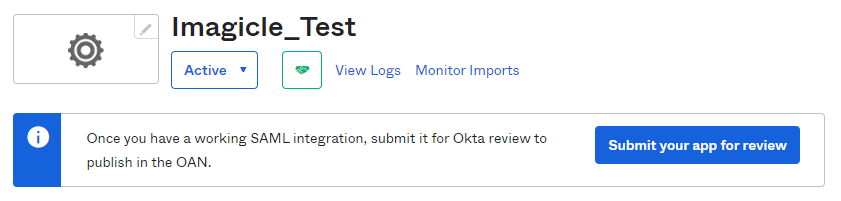
The configuration is accomplished. Please click on "Submit your app for review" to let Okta grant your SSO enablement.
-
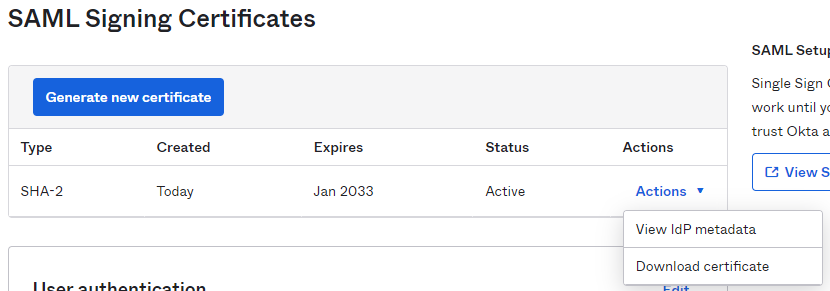
In "SAML Signing Certificates", please select View IdP metadata, available for the Active SHA-2 certificate.
-
A new web window is displayed, including XML SAML certificate. Please save XML code as text file and send it to Imagicle Support team.
-
Assign the new created App Integration to the relevant company users/groups that need to leverage the SSO (Applications > select the Imagicle app integration > Assignments).