Configurations for AudioCodes SBC - SIPREC Recording
Effective 2021.Winter.1, Imagicle Call Recording can record any audio call passing through an AudioCodes Mediant SBC. This is useful in those scenarios where a cloud-based Calling platform is in place and customer or Service Provider has got an on-prem SBC to provide local access to PSTN.
Requirements
AudioCodes firmware should be 7.20A.158.056 or higher.
Silent Suppression is not supported.
AudioCodes SBC Configurations
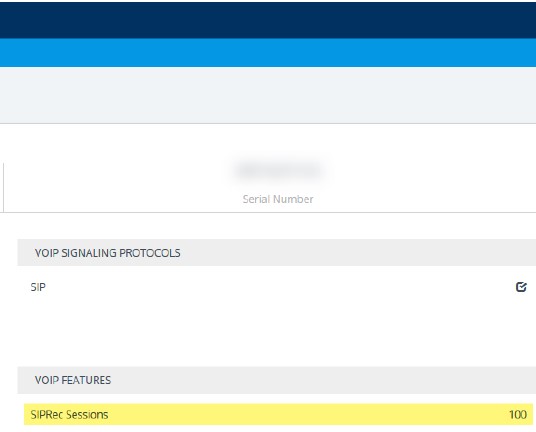
First of all, please make sure that AudioCodes has got enough SIPREC sessions license to cover the number of required concurrent recordings.
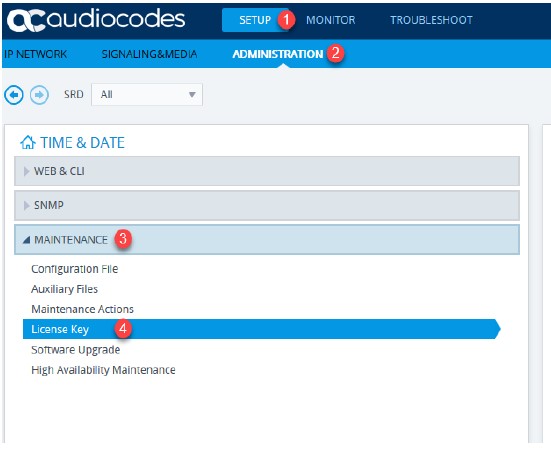 ⇒
⇒
Please make sure that "IP Groups" and "IP-to-IP Routing" have been properly configured to route calls between your IP telephony environment and PSTN provider.
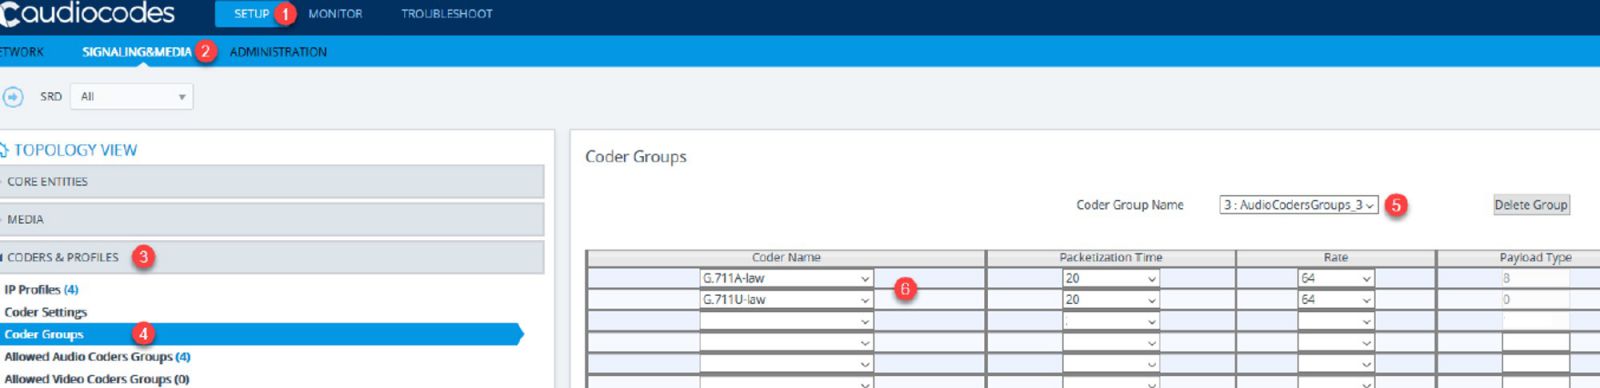
Configure audio codecs for Imagicle Call Recording on the gateway. Navigate to Setup ⇒ Signaling & Media ⇒ Coders & Profiles > Coder Groups. Select a new and unused Coder Group Name and add two Codecs in the following order:
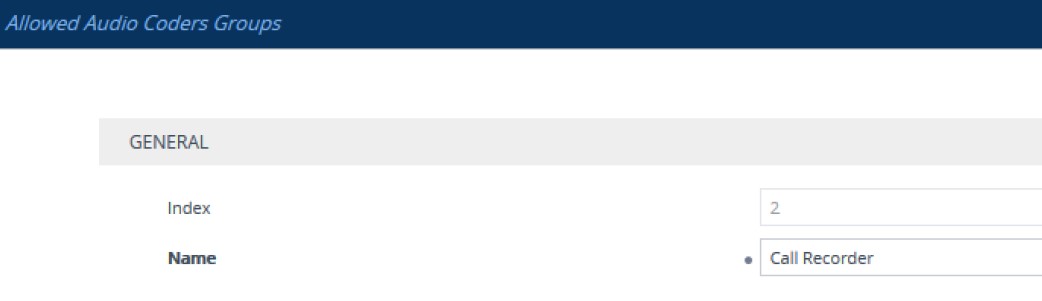
Click Apply and then navigate to Allowed Audio Coders Groups in the same section. Click New and enter an unused index and Name for Imagicle Recorder. Click Apply.
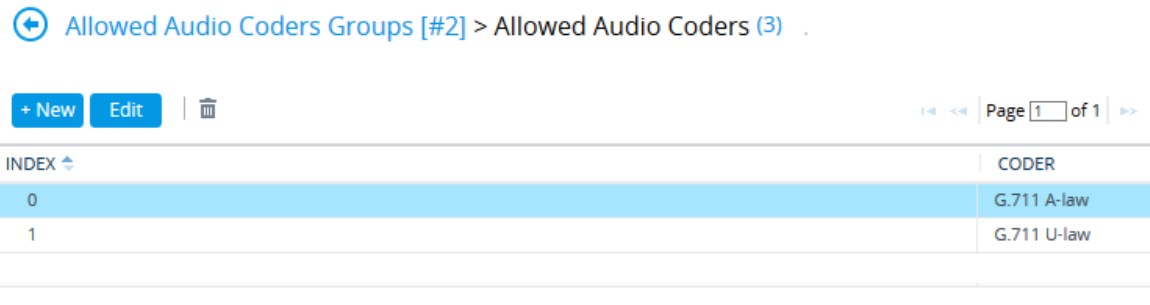
Select the newly created item and, in the lower section, click on Allowed Audio Coders >>> link:
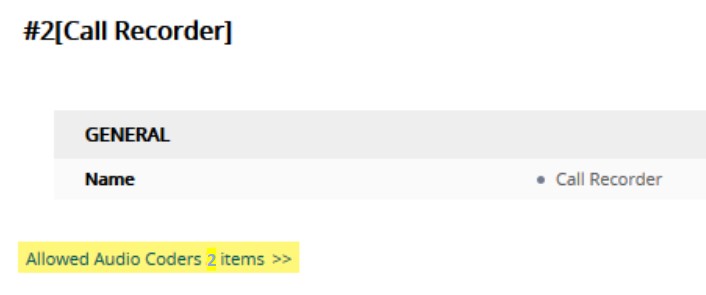
Configure the same codecs as done in above step:
Navigate to the IP Profiles item in same section.
Click on the button New and fill in or change the following fields.
- Index – Any unused number
- Name – i.e. Imagicle Recorder
- SBC Media Security Mode – RTP
- Extension Coders Group – Select Coder Group from previous steps
- Allowed Audio Coders – Select Allowed Audio Coders Group from previous step
- RTCP Mode – Select Generate Always
- Broken Connection Mode – Ignore
- Keep other settings as default
Click the Apply button. Then click Save button to save the changes to the startup configuration:

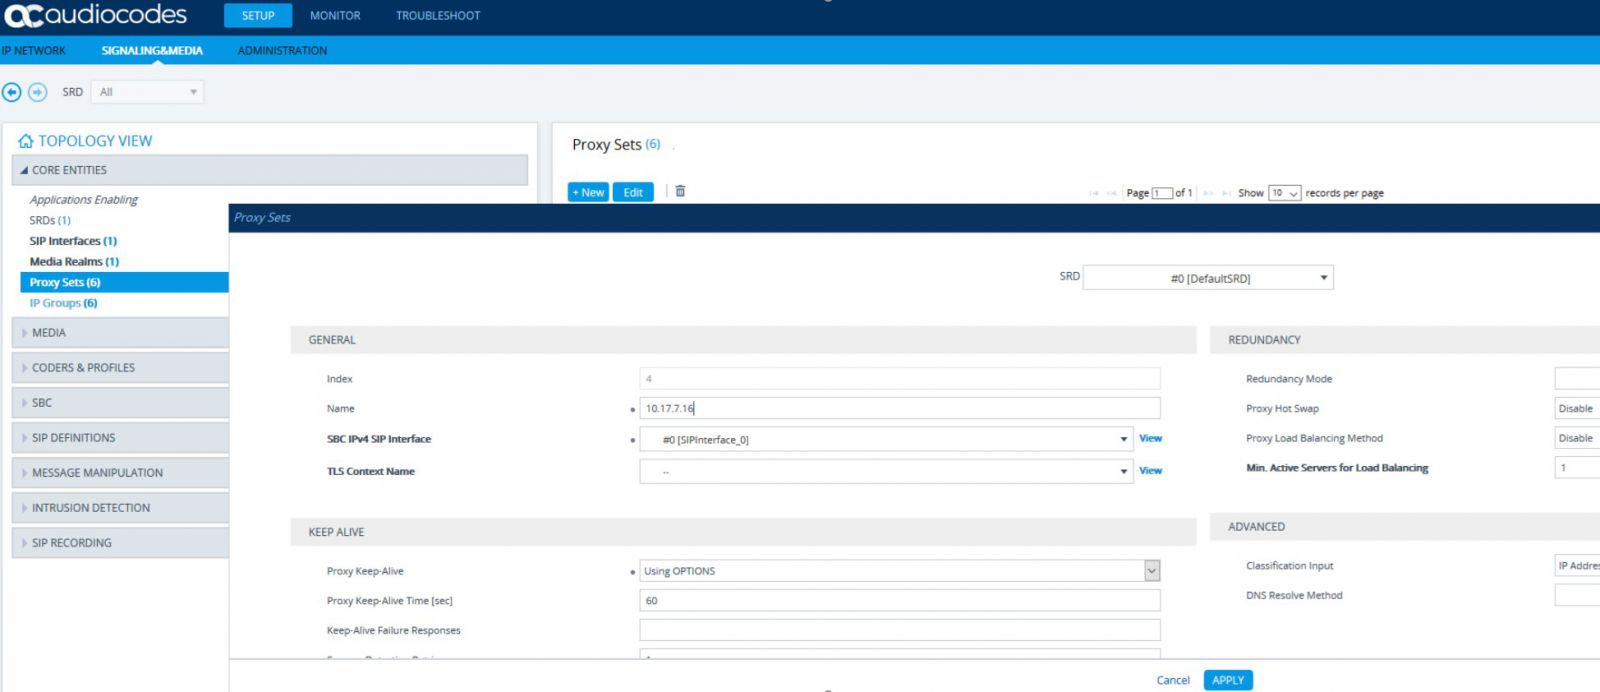
Now please create an IP Group (SIP Trunk). Navigate to Setup ⇒ Signaling & Media ⇒ Core Entities ⇒ Proxy Sets. Click New and enter the following parameters:
- Index – Any unused number
- Name – i.e. Imagicle Recorder or its IP address
- SBC IPv4 SIP Interface – Select the SIP interface which is used for inbound/outbound calls
- Proxy Keep-Alive – Select Using OPTIONS
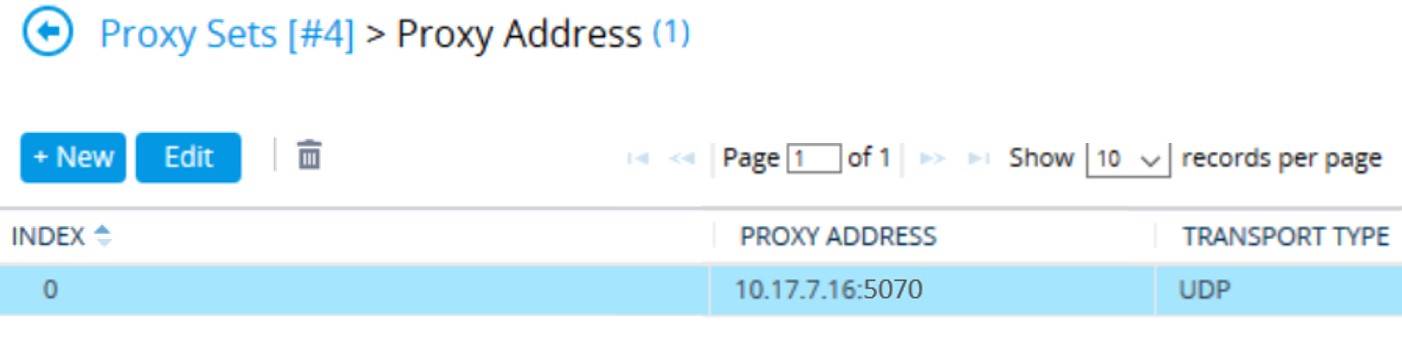
Click the Apply button. Then, at the bottom of the window, click on Proxy Address N items >> link:
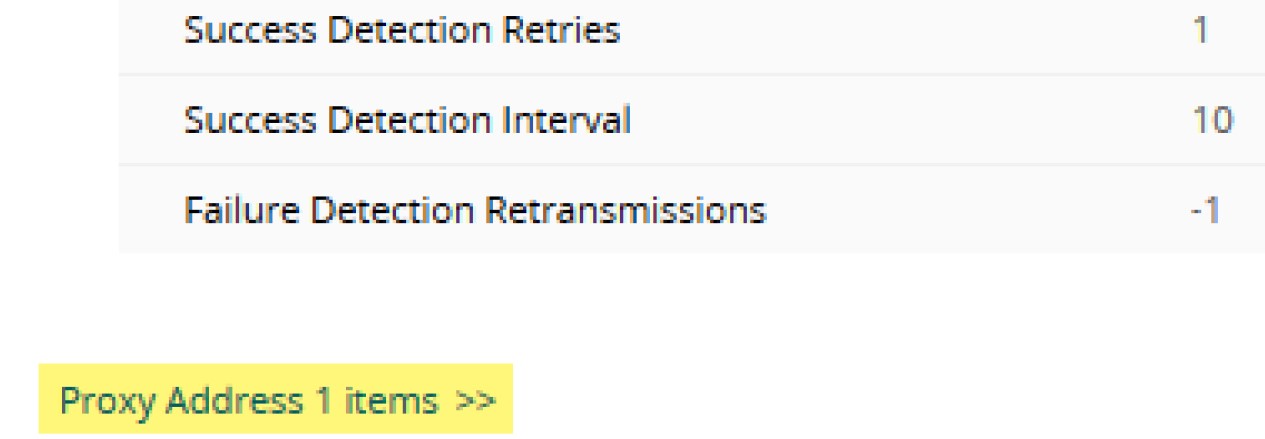
Add a new item. Enter Imagicle Call Recording UC Suite IP address and UDP port 5070. Click Apply:
Now please navigate to the IP Groups item in the same section, to specify the SIP Trunk. Click New and fill in the following fields:
- Index – Any unused number
- Name – i.e. Imagicle Recorder
- Topology Location – Down
- Type – Server
- Proxy Set – Select the proxy set from previous step
- IP Profile – Select the IP Profile from previous step
- Media Realm – Select your Media Realm which is used for the incoming and outgoing calls
- SIP Group Name – Type the IP address of Imagicle UC Suite server
- If required, you can optionally apply Inbound/Outbound Message Manipulation Sets
Click Apply and then click Save button to save the changes to the startup configuration:
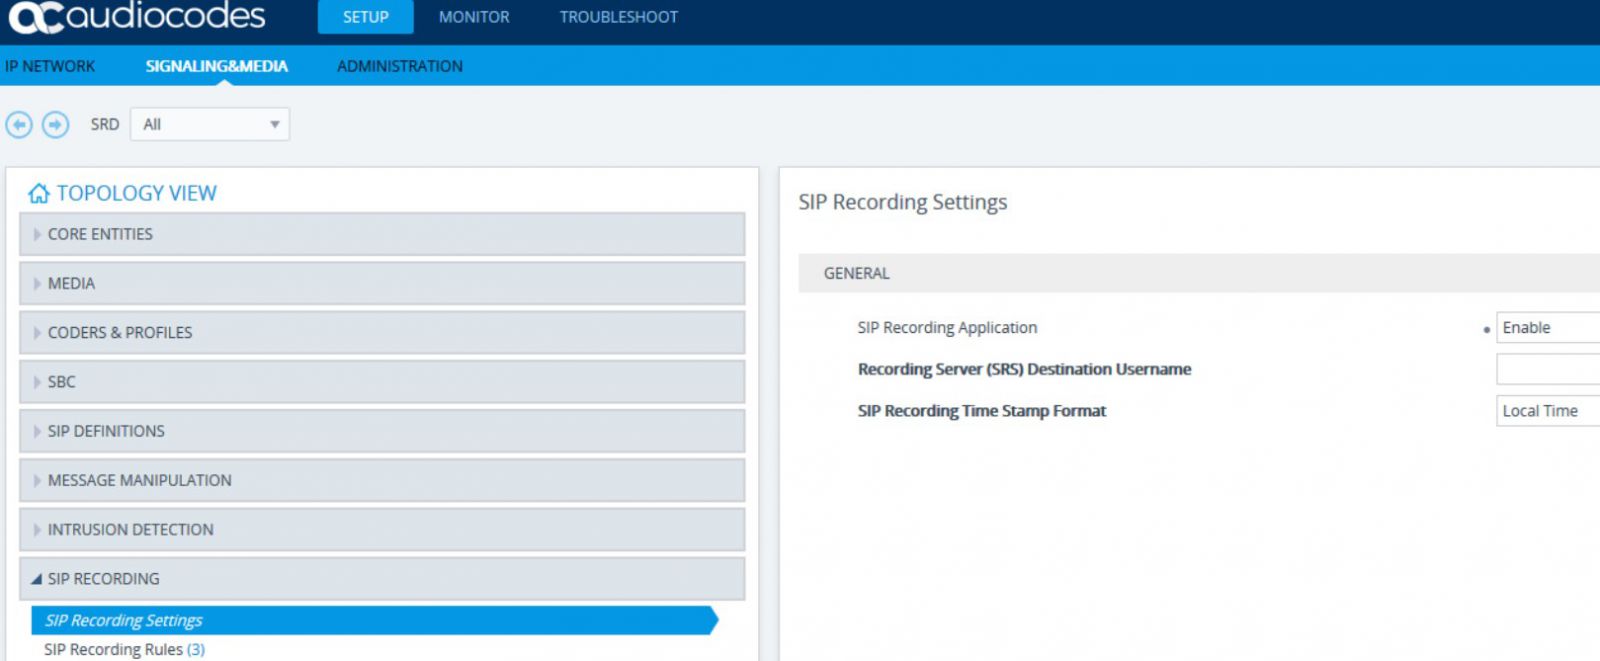
Finally, it's time to configure SIPREC and rules. Navigate to Setup ⇒ Signaling & Media ⇒ SIP Recording ⇒ SIP Recording Settings. Change the SIP Recording Application state to Enable. Click on Apply button:
Once the settings have been applied, configuration must be saved and AudioCodes SBC whole box must be restarted. In the case of a cluster, all units must be restarted.
After the restart, please configure SIP Recording Rules. Navigate to Setup ⇒ Signaling & Media ⇒ SIP Recording Rules.
Click New button and configure at least one of Recorded or Peer Group ID and Recording Server (SRS) IP Group fields, otherwise, configuration is not accepted.
The image below shows an example of the configuration wherein all data flowing from Cisco CUCM, and routed anywhere, is recorded by Imagicle Call Recording:

You can also be more detailed and specify additional routes. i.e. You may combine Source or Destination Prefixes or Recorded and Peer IP Groups for a more specific recorded calls routing.
Click Apply and perform a test call to verify that call is successfully recorded.
|
||

| This article was: |
| Prev | Next | |
| Cisco Webex Calling MT Native Integration | Call Recording Gadget integration in Cisco Finesse web client |